Level 1 - Tail Cave Walkthrough
Tail Cave is the first dungeon in The Legend of Zelda: Links Awakening (Remake) for the Nintendo Switch. Read on for a guide on how to reach Tail Cave, solve the dungeon's puzzles, and defeat the dungeon's bosses!
| ◀︎ Previous Dungeon | Next Dungeon ▶︎︎ |
|---|---|
| - | Bottle Grotto |
List of Contents
Getting to Tail Cave
Getting to Tail Cave Objectives
| No. | Objective |
|---|---|
| 1 | 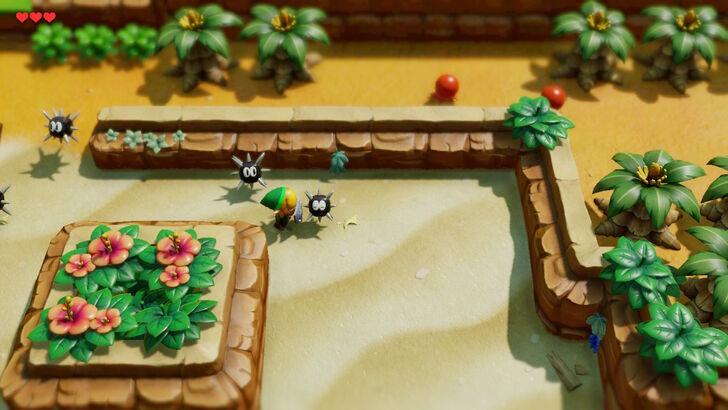 First, you will want to get up and speak with Tarin to get your shield. Leave the house and head west, then south, towards Toronbo Shores. After you have arrived at Toronbo Shores, you will need to push the Sea Urchin out of your way to proceed. Do so by holding your shield with R/ZR and walking. Then, get your sword that's laying on the water. ▶︎ Heart Piece #1 |
| 2 | 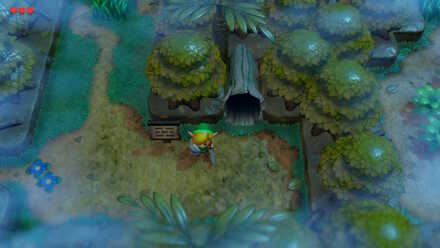 After getting your equipment, head north to the Mysterious Forest. Head northeast, past the Moblins with spears. Continue right until you see a log that can be entered. |
| 3 | 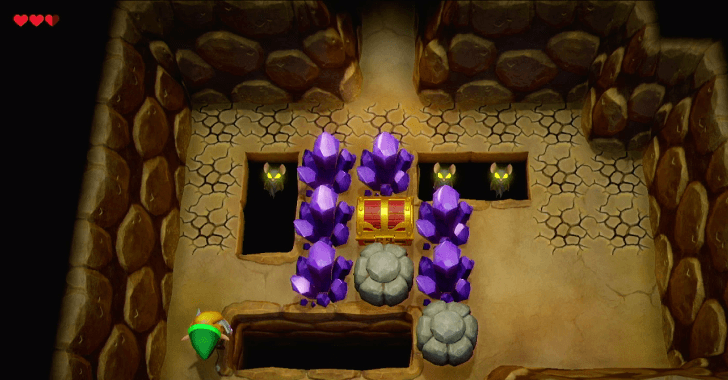 Oncee inside, quickly go through the cracks to the next area. Be wary of the cracks on the ground as standing on them for too long will cause you to fall through. You can also defeat the Keese and break the purple crystals with your sword. After this, push the stone blocking the treasure chest in either direction to obtain 50 Rupees. Continue to the next room. You will spot another Heart Piece, but it is currently unobtainable. Push the stones out of your way to exit the cave. |
| 4 | 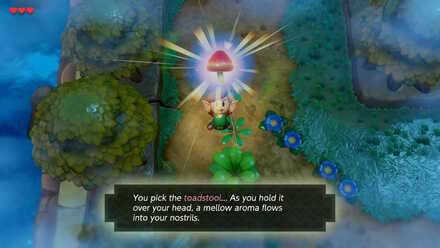 Right after exiting you will encounter a Sword & Shield Moblin who will charge at you. Shield his attack, then strike him to defeat him. Pick up the Toadstool to the left side of the screen. |
| 5 | 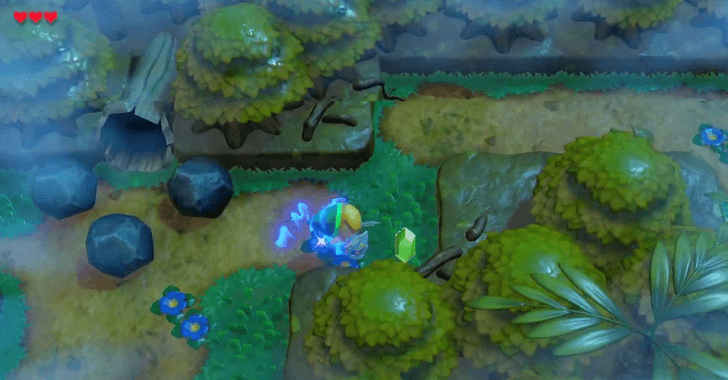 Head back through the log you came from and push the stones again to pass through the room. You can exit and re-enter the room to reset their positions if needed. After exiting the log again, head north and take out the moblins in your way. Continue north until you see the cave blocked off by rocks. Continue going right until you reach Koholint Prairie. |
| 6 | 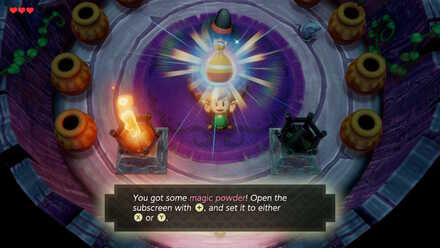 After arriving in Koholint Prairie, head south east. Once you come upon a wooden house with a large skull on the roof, head inside. Talk to the witch inside to trade the Toadstool for Magic Powder. Set it to X or Y and head back toward the Mysterious Forest. |
| 7 | 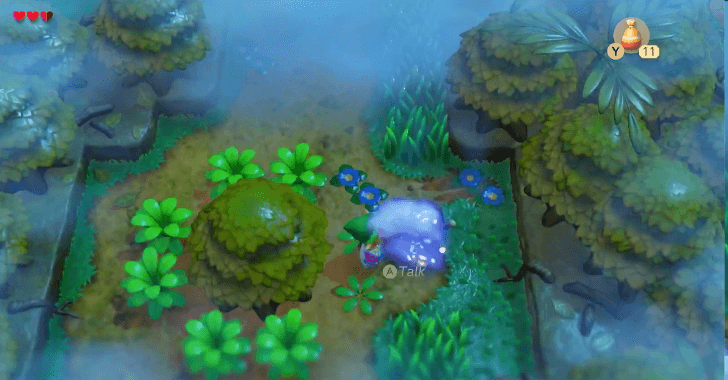 Go back to the log you entered, but this time head left toward the entrance of the Mysterious Forest. Go north once you reach the area with several Moblins, and you will see a strange raccoon looking fellow by a tree. Sprinkle some magic powder on him to reveal that he was actually Tarin. You will now be able to proceed forward. |
| 8 |
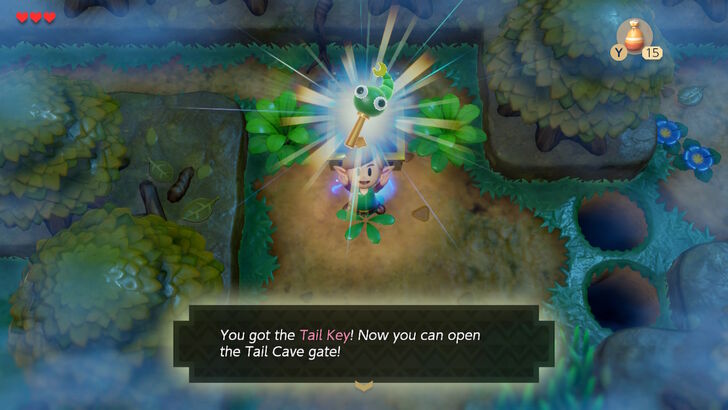 Cut the grass in front of the treasure chest and open it to receive the Tail Key. |
| 9 |
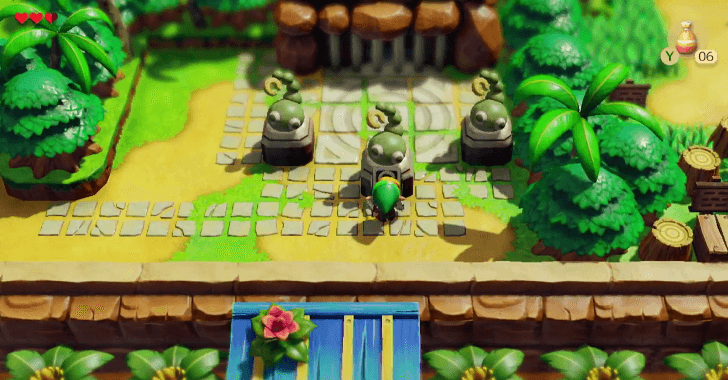 Head back toward Toronbo Shores. After going down the stairs south of the boys playing ball, turn right before reaching the beach. Then, continue around the trees to arrive at the front of Tail Cave. |
Level 1 - Tail Cave Dungeon Walkthrough
| Tail Cave Walkthrough Contents | |
|---|---|
| Map and Items | Objectives |
| Mini-Boss | Boss |
Tail Cave Map and Items
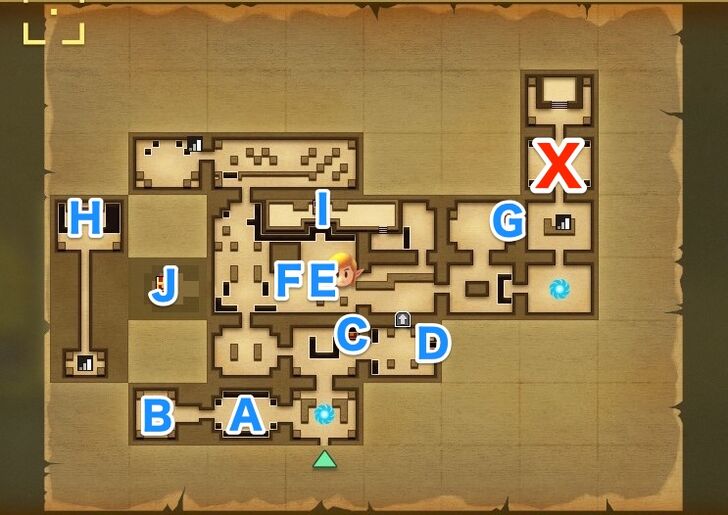
| Location on Map | Item |
|---|---|
| A | Small Key #1 |
| B | Compass |
| C | Small Key #2 |
| D | Map |
| E | Small Key #3 |
| F | 20 Rupees |
| G | Stone Beak |
| H | Roc's Feather |
| I | Nightmare Key |
| J | Secret Seashell |
Tail Cave Objectives
| No. | Objective |
|---|---|
| 1 | 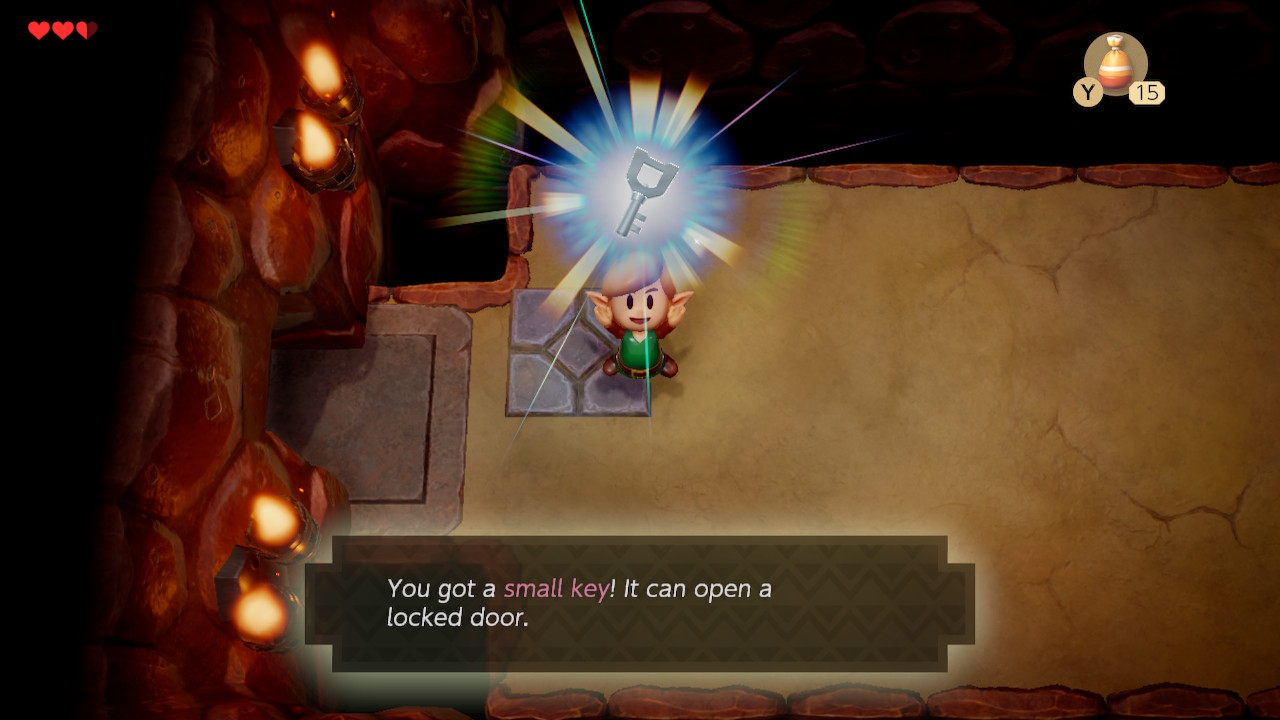 Go to the room on your immediate left after entering the dungeon. There will be two Hardhat Beetles. They can be pushed by hitting them with your sword or blocking them. Push them off the ledge. After you defeat them, you will obtain Small Key #1. |
| 2 | 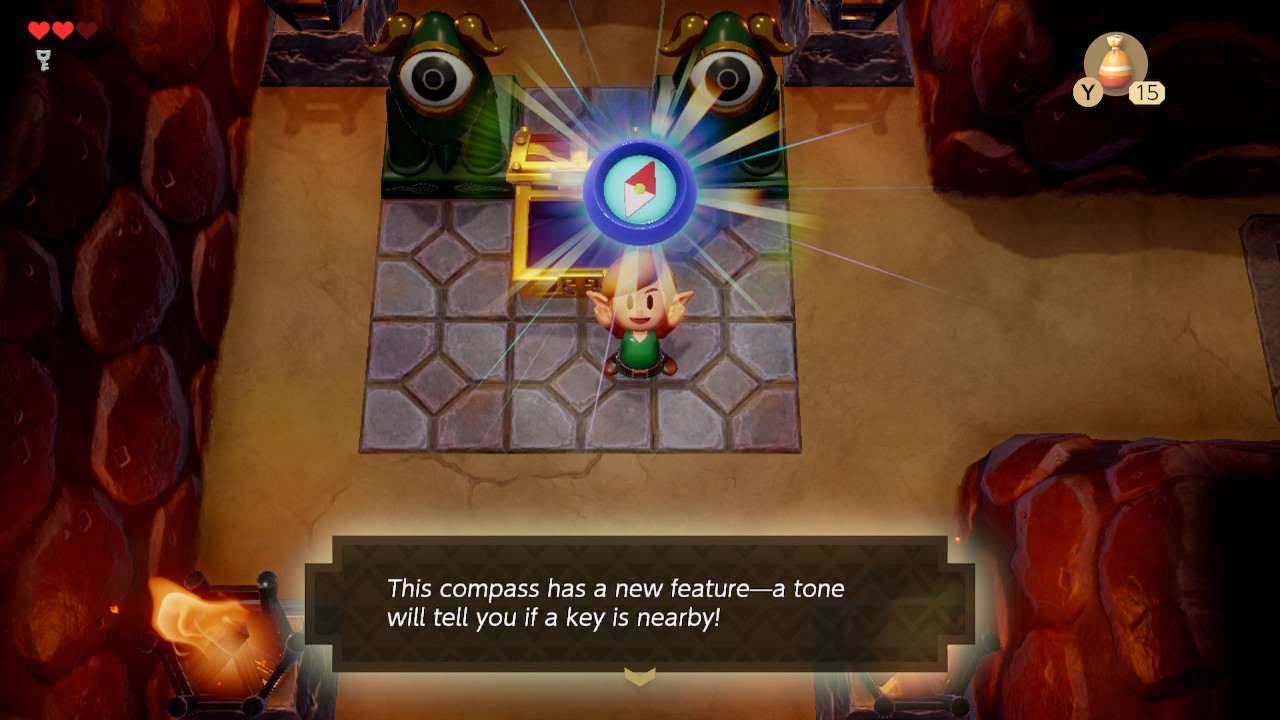 After obtaining Small Key #1, go into the left room and the door will shut. Defeat the red Zol here to open them back. Be weary of the torches' flames, which can be shielded to avoid damage. Open the treasure chest to receive the Compass. In this game, the compass will make a sound to indicate a nearby key. It will also display treasure and boss locations for the dungeon. |
| 3 | 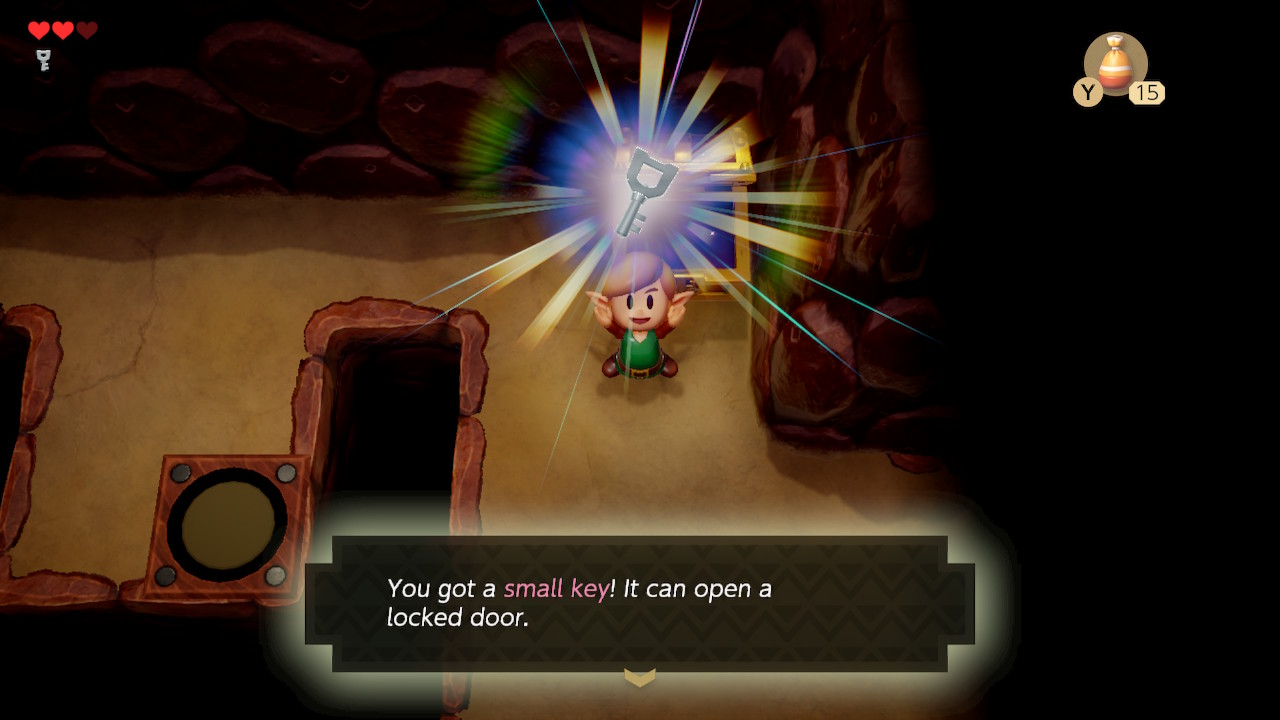 Go back towards the dungeon entrance. This time go north, and defeat the enemies here. Step on the switch in the middle of the room to reveal a chest containing Small Key #2. |
| 4 | 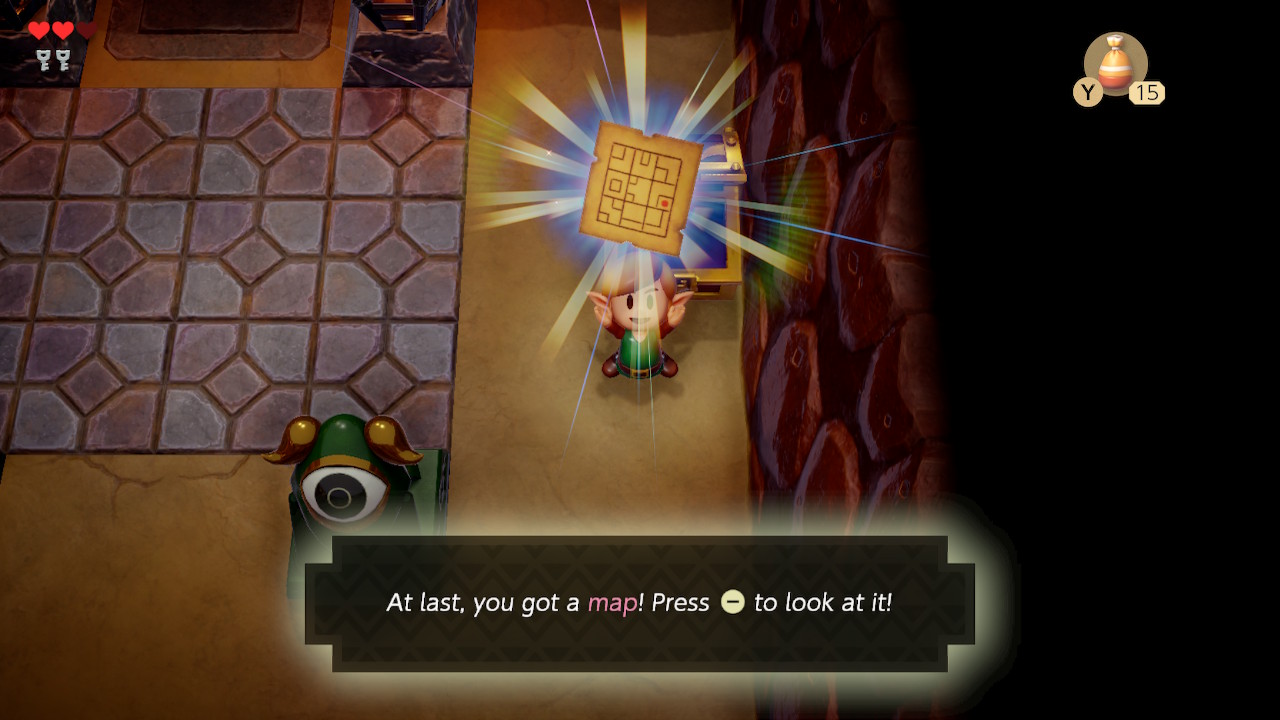 Go into the room on your right to encounter several enemies. The Stalfos will jump away when you slash at them. Defeat them by either cornering them and hacking away, slashing at them so that they fall into the hole, or using the Spin-Attack. After the enemies have been disposed of, a chest will appear with the Map. This is a useful item which will show you the overall layout of the dungeon. |
| 5 | 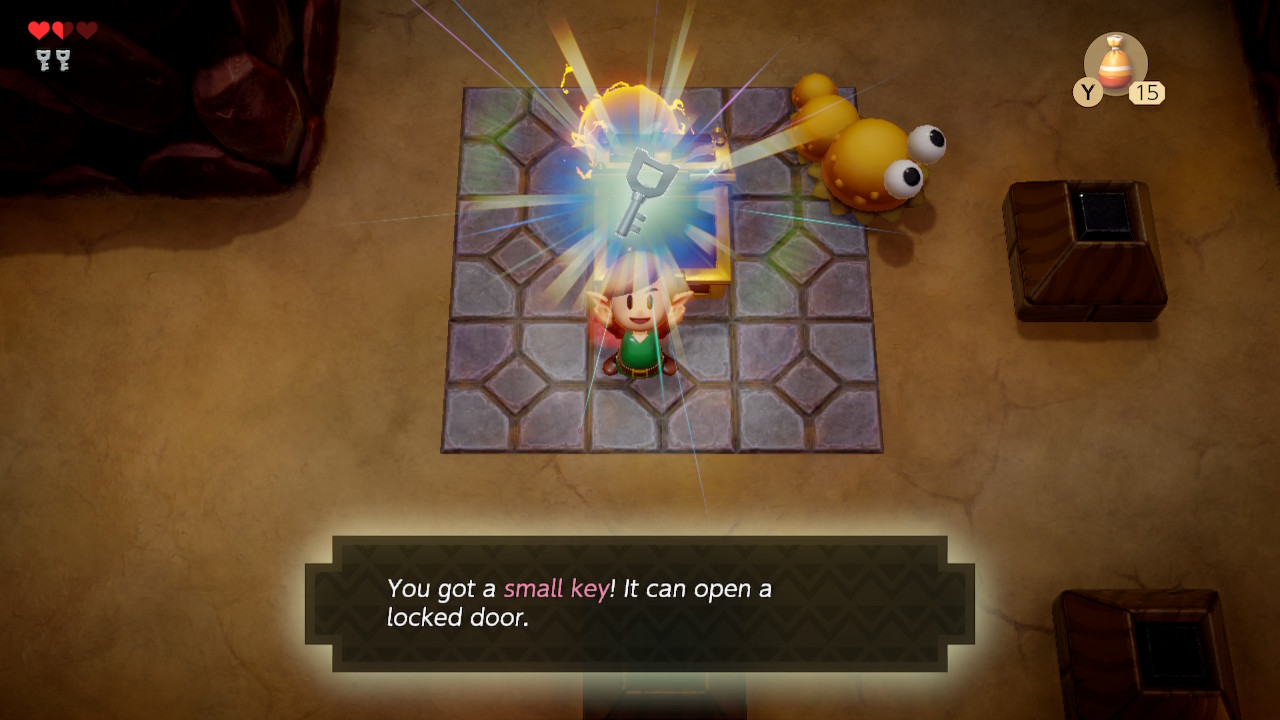 Next head through the revolving door, and head to the center of the room. There is a chest in here surrounded by enemies, so watch your step and open it to reveal Small Key #3. A chest with 20 rupees will also reveal itself by defeting the two Mini-Moldorms in the room. |
| * | In the far left part of this room there is a suspicious looking wall. It can be bombed to open it up in order to enter a room with Secret Seashell #18, but since you do not yet have the bombs, you will have to come back for it later. |
| 6 | 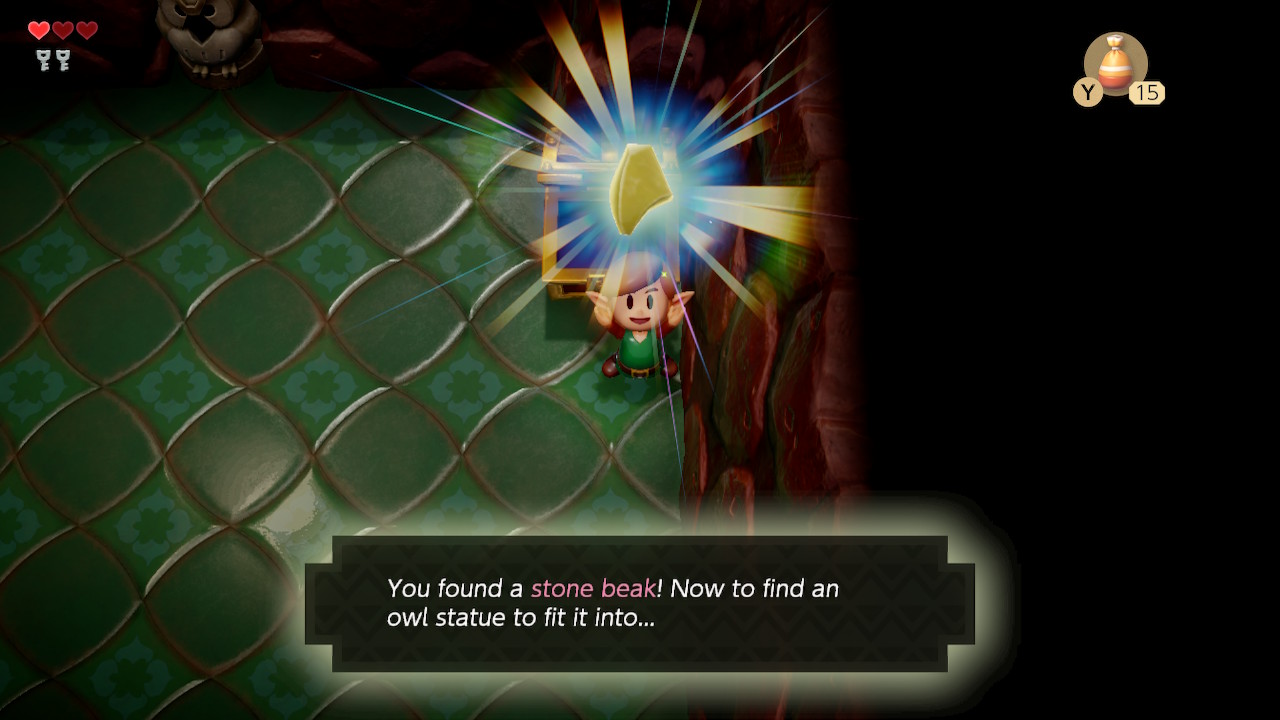 Head back towards the revolving door, and use your key to go into the next room. Avoid the Sparks in this room and head north. In here, you will encounter an enemy called Three-of-a-Kind, which rotates different card suits. They can only be defeated by timing your attacks to stop them all on the same suit. Beat them to reveal a chest with the Stone Break. This can be inserted into owl statues found in Dungeons (like the one in this room) to get hints from the owl. Head north to get the Stone Beak. |
| 7 | 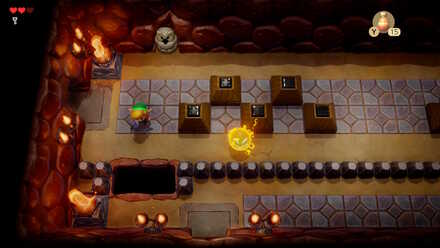 Find your way back to where you picked up Small Key #3, and unlock the upper left locked door. A Blade Trap will hit you if you are not careful, so bait the trap to move, then pass by after it resets. Alternatively, push the block in front of it so it cannot come out. In the next room, avoid the Sparks and obstacles to see a block that is out of alignment. Push it right to open the door. |
| 8 | 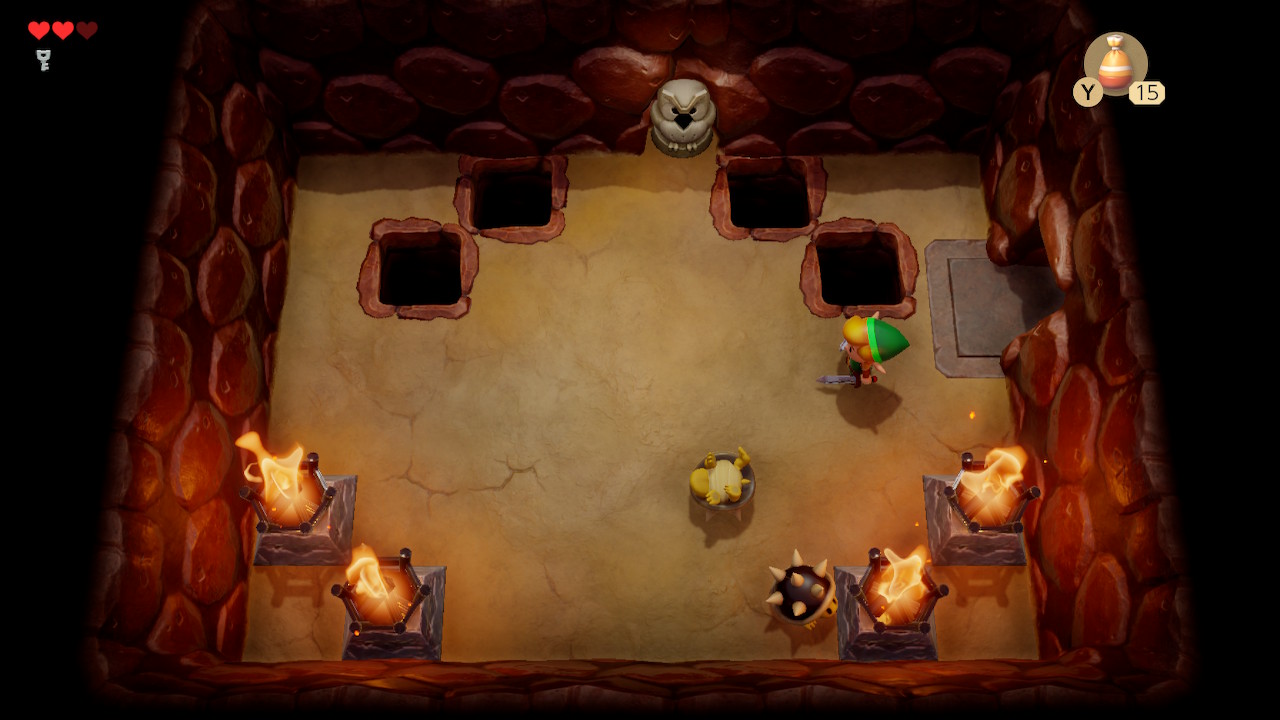 Two Spiked Beetles are waiting for you in the next room. Shield when they charge at you, and then attack while they are flipped over. After defeating them, a staircase will appear. This will take you to a platformer section with Goombas. Head on to the left and uppermost area to emerge. Defeat the Spiked Beetles in the next room to reveal a set of stairs. |
| 9 | 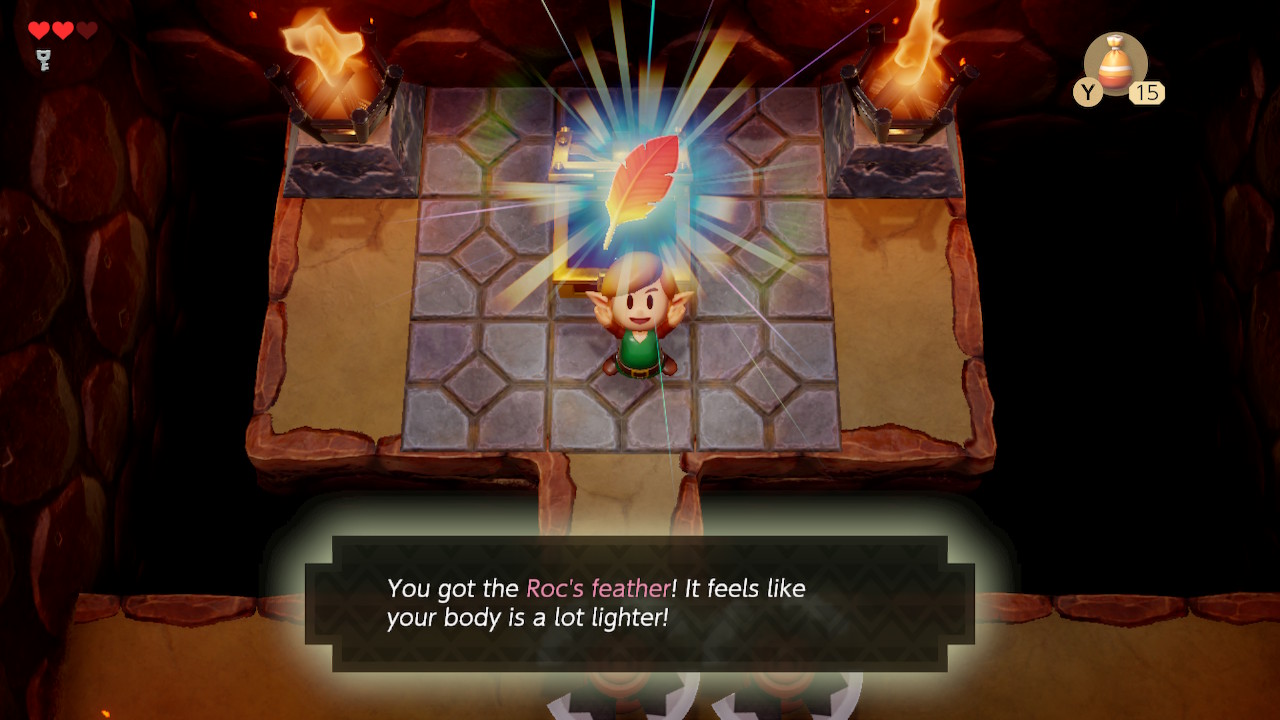 Enter a platforming section and head left. Go up the stairs and head toward the chest to get the Roc's Feather. This is a very useful item which will allow you to jump when eqiupped. Head down and use the feather to jump and grab the 3 hearts if needed. You will now be able to breeze through the platforming section by jumping. |
| 10 | 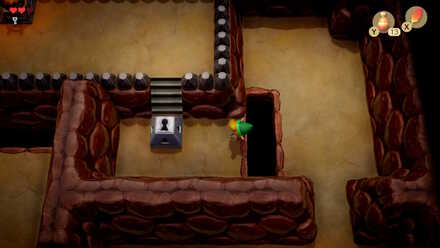 Return to the room where you picked up Small Key #3 again, and go toward the top right area to see a gap that you can now jump over. Hop over the gap with Roc's Feather, then use your last key to open the block that is in your way. Go up the stairs and open the chest to get the Nightmare Key. |
| 11 | 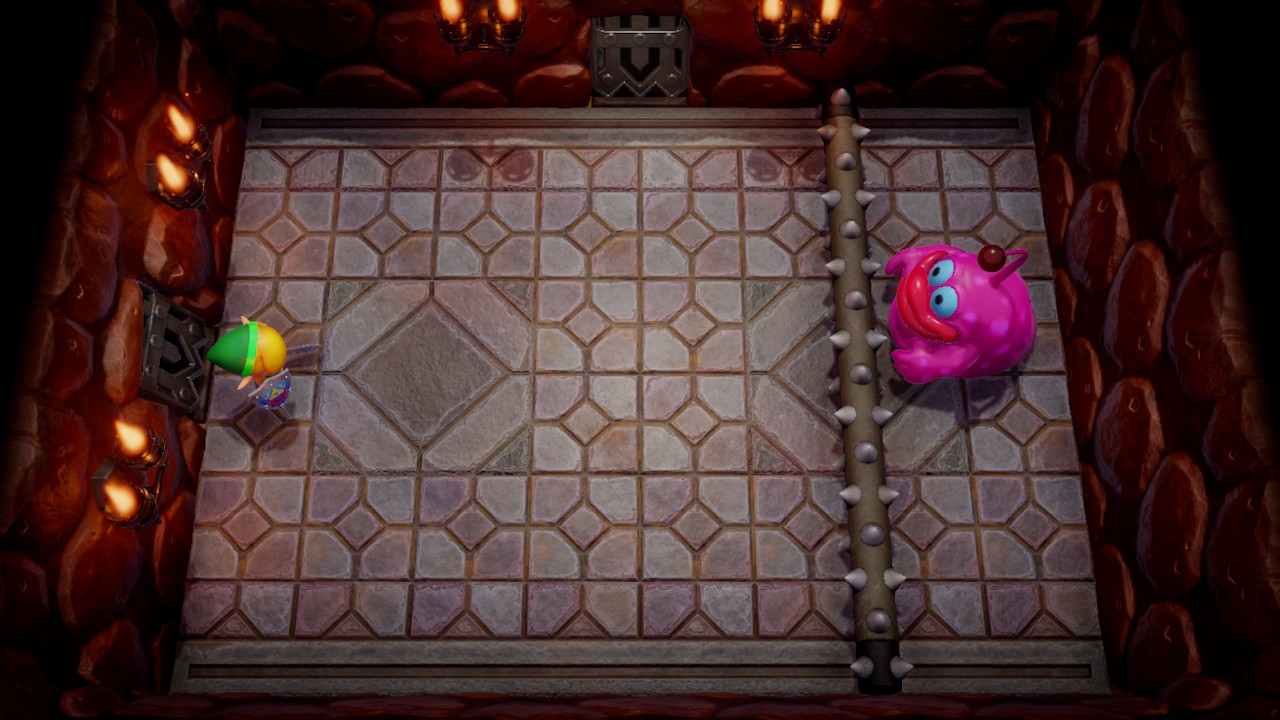 Head back to the room just before you got the Stone Beak. Jump over the gap and enter the room to fight a mini-boss. After you defeat them, go to the newly unlocked door to reach the Nightmare's Lair. ▶︎ Spike Roller Mini Boss Guied |
| 12 | 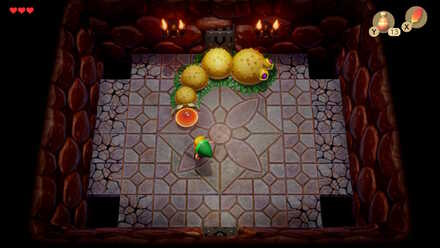 Defeat Moldorm to obtain the Full Moon Cello, as well as a Heart Container. ▶︎ Moldorm Boss Guide |
Tail Cave Mini-Boss: Spike Roller

To meet this Mini-Boss, go back to the room south of where you got the stone beak. Jump over the gap here to enter the room with Spike Roller.
Spike Roller will roll a spiky log while jumping toward you. Avoid taking damage from the log by jumping over the bar with Roc's Feather. Then, attack Spike Roller when he is not directly facing you to avoid getting hit.
Continue this to defeat him and obtain a fairy. They will heal you back to full health.
Spike Roller Weakness and Locations
Tail Cave Boss: Moldorm
Attack End of Tail

To fight this boss, go north from Spike Roller's room. Insert the boss key and open the door.
The red point in Moldorm's tail is their main weak point, so walk near them and strike it. Doing so will anger them, causing them to speed up temporarily and become impervious to attacks.
While they are in this angered state, you should stay away from the cracked tiles and holes, as they can knock you down there. Shield or avoid their aggressive movement and wait for an opening.
After striking them the third time, they will speed up and glow red while remaining fast. Deliver the fourth and final blow and they will explode.
Unlocks Full Moon Cello
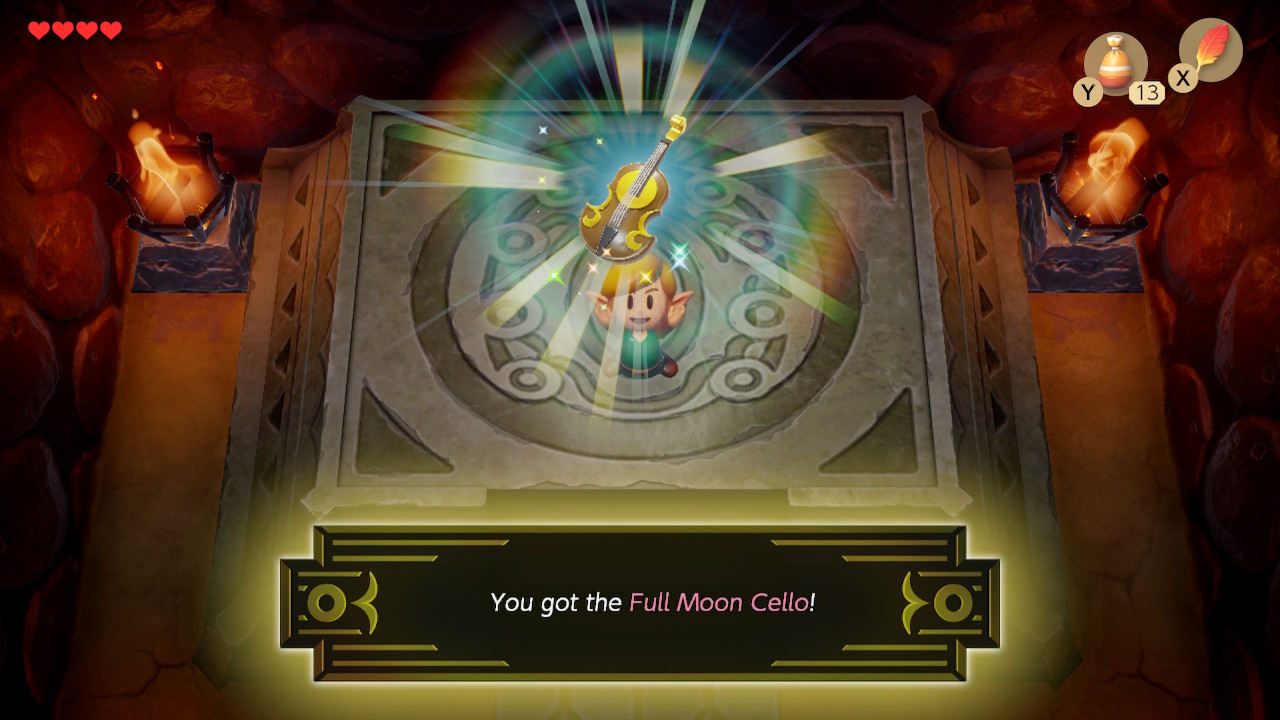
After dying, he will leave behind a Heart Container. Pick it up, and continue to the next room. In this room, you will pick up the Full Moon Cello to complete the dungeon.
Link's Awakening Related Guides

List of All Dungeons and Story Walkthrough
All Dungeon Walkthroughs
Author
The Legend of Zelda: Link's Awakening Walkthrough & Guides Wiki
Level 1 - Tail Cave Walkthrough
improvement survey
03/2026
improving Game8's site?

Your answers will help us to improve our website.
Note: Please be sure not to enter any kind of personal information into your response.

We hope you continue to make use of Game8.
Rankings
- We could not find the message board you were looking for.
Gaming News
Popular Games

Genshin Impact Walkthrough & Guides Wiki

Honkai: Star Rail Walkthrough & Guides Wiki

Umamusume: Pretty Derby Walkthrough & Guides Wiki

Pokemon Pokopia Walkthrough & Guides Wiki

Resident Evil Requiem (RE9) Walkthrough & Guides Wiki

Monster Hunter Wilds Walkthrough & Guides Wiki

Wuthering Waves Walkthrough & Guides Wiki

Arknights: Endfield Walkthrough & Guides Wiki

Pokemon FireRed and LeafGreen (FRLG) Walkthrough & Guides Wiki

Pokemon TCG Pocket (PTCGP) Strategies & Guides Wiki
Recommended Games

Diablo 4: Vessel of Hatred Walkthrough & Guides Wiki

Fire Emblem Heroes (FEH) Walkthrough & Guides Wiki

Yu-Gi-Oh! Master Duel Walkthrough & Guides Wiki

Super Smash Bros. Ultimate Walkthrough & Guides Wiki

Pokemon Brilliant Diamond and Shining Pearl (BDSP) Walkthrough & Guides Wiki

Elden Ring Shadow of the Erdtree Walkthrough & Guides Wiki

Monster Hunter World Walkthrough & Guides Wiki

The Legend of Zelda: Tears of the Kingdom Walkthrough & Guides Wiki

Persona 3 Reload Walkthrough & Guides Wiki

Cyberpunk 2077: Ultimate Edition Walkthrough & Guides Wiki
All rights reserved
© 1993-2019 Nintendo
The copyrights of videos of games used in our content and other intellectual property rights belong to the provider of the game.
The contents we provide on this site were created personally by members of the Game8 editorial department.
We refuse the right to reuse or repost content taken without our permission such as data or images to other sites.


![Everwind Review [Early Access] | The Shaky First Step to A Very Long Journey](https://img.game8.co/4440226/ab079b1153298a042633dd1ef51e878e.png/thumb)

![Monster Hunter Stories 3 Review [First Impressions] | Simply Rejuvenating](https://img.game8.co/4438641/2a31b7702bd70e78ec8efd24661dacda.jpeg/thumb)


the urchins can be killed by sword