Level 5 - Catfish's Maw Walkthrough
This is the walkthrough for Catfish's Maw, the fifth dungeon in The Legend of Zelda: Links Awakening (Remake) for the Nintendo Switch. Read on to see how to reach this dungeon, solve its puzzles, and defeat its bosses!
| ◀︎ Previous Dungeon | Next Dungeon ▶︎︎ |
|---|---|
| Angler's Tunnel | Face Shrine |
List of Contents
Getting to Catfish's Maw
Getting to Catfish's Maw Objectives
| No. | Objective |
|---|---|
| 1 | (Optional) Exit Angler's Tunnel and go left. Swim into the cave here and learn Manbo's Mambo. |
| 2 | Warp to Ukuku Prairie and head through Mabe Village toward Toronbo Shores. |
| 3 | (Optional) Pick up the Bow from the Mabe Village Shop for 980 Rupees. |
| 4 | Head to the far east section of Toronbo Shores. Pass by the rocks and take the Ghost to the Abandoned House just at the edge of Martha's Bay. |
| 5 | Activate the warp zone around the corner, then warp back to Ukuku Prairie and head north to the Cemetary. |
| 6 | Take the ghost to grave surrounded by flowers in the northwest part of the Cemetary to obtain the Fairy Bottle. |
| 7 | Warp back to Martha's Bay. |
| 8 | (Optional) Collect the Heart Pieces, Seashells, and Inventory Upgrade in the area. |
| 9 | Walk around to the stairs that lead into the bay. Swim to the left side of the large Catfish Statue. |
| 10 | Dive down in the whirlpool between the rocks here. Swim across to the other side to arrive at Catfish's Maw. |
Manbo's Mambo
 |
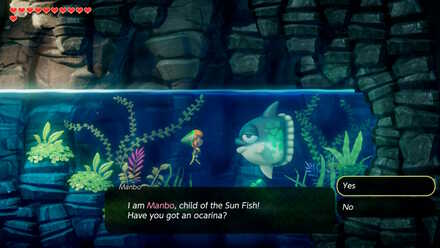 |
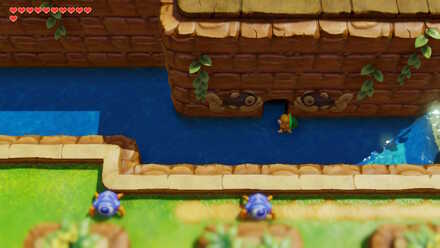
With our newfound Flippers, areas within the water are now accessible to us. Exit Angler's Tunnel and immeditately swim left to find an entrance to a cave. Go inside to meet with Manbo, a large Sunfish who will teach you a new song for your Ocarina. This song, called Manbo's Mambo, will allow you to warp directly to a warp zone. Additionally, using it inside of a dungeon will take you back to that dungeon's entrance.
Piece of Heart #18
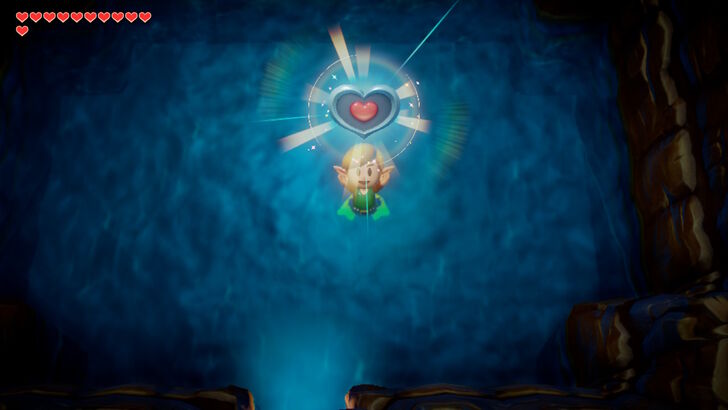
On the right ride of the Angler's Tunnel, you can swim to yet another cave. After entering, dive down and pick up Piece of Heart #18.
The Ghost of Koholint
 |
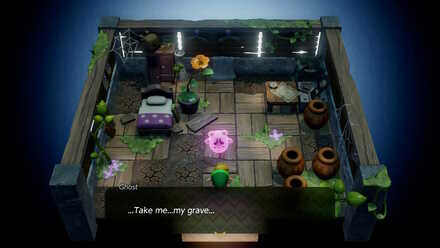 |
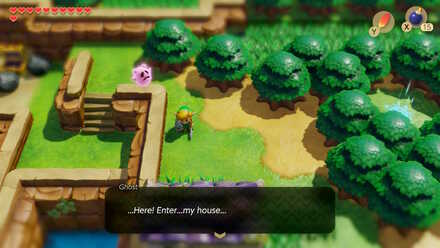
Equip the new song to your ocarina and warp to Ukuku Prairie. Shortly after, a purple ghost will show up and follow you around. It will occasionally mention that it wants to go home. Ignore it for now, and head through Mabe Village to arrive at Toronbo Shores. Head as far right as you can, until you reach some boulders blocking your parth. Lift them out of the way and go up the stairs, and the ghost will tell you to enter the house (Note that Secret Seashell #19 can be obtained here as well). After looking around a bit, the ghost will remark that it wants to return to its grave.
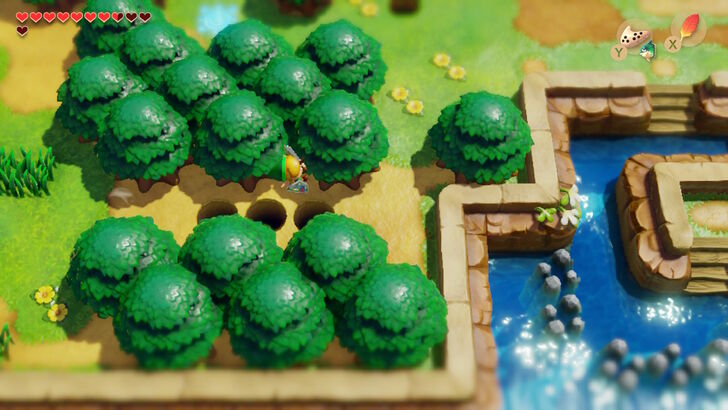
Before going there, go ahead and dash-jump with the Pegasus Boots and Roc's Feather over the three holes to the right of the house. Go up and left to find a warp zone between the trees, and activate it. This will make returning here a whole lot quicker.
Fairy Bottle
 |
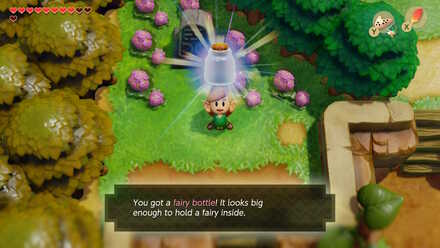 |
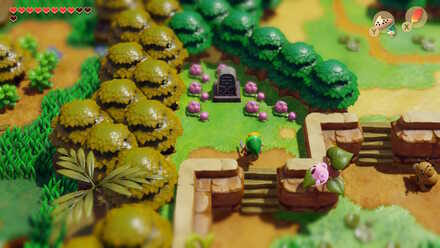
Warp back to Ukuku Prairie again, then head up the ladder. The ghost mentions that it wants to return to the grave with the flowers. This can be found in the far west section of the graveyard, just south of the witch's hut. The ghost will finally find peace, rewarding you with a fairy bottle. After this, the owl will show up and tell you to dive into Catfish's Maw, located in Martha's Bay.
Bow and Arrow Set
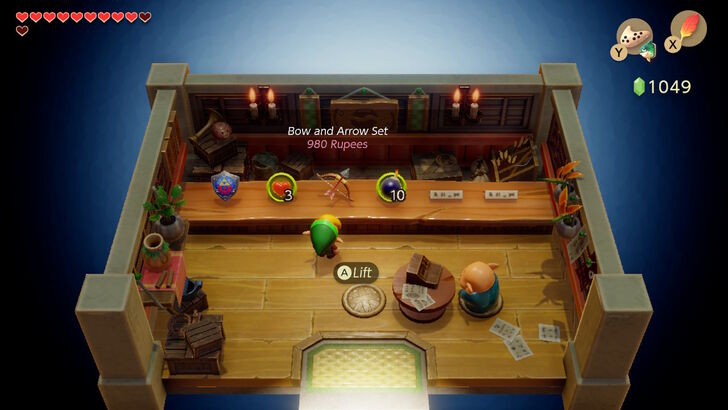
By now you will have most likely collected some serious rupees. If you have saved over 980 rupees, now would be a good time to get the Bow. Simply warp back to Ukuku Prairie and go to Mabe Village. Find the shop and purchase the Bow and Arrow Set for 980 rupees.
Martha's Bay
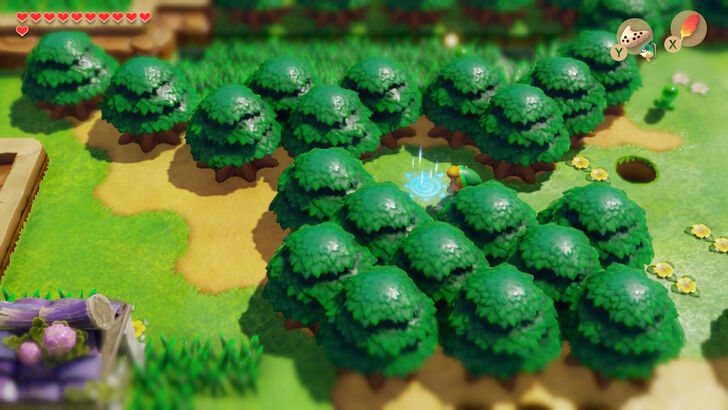
Warp back to the warp zone that was east of the ghost's house. There are several treasures that can be obtained in Martha's Bay before continuing to the dungeon.
Secret Seashell #17
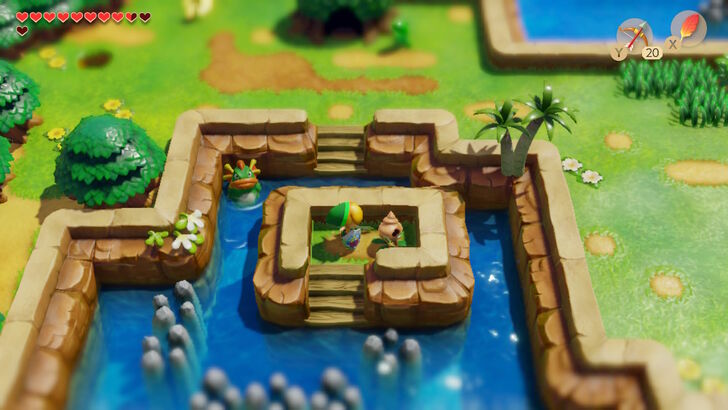
Secret Seashell #17 can be found buy going down the stairs just south of the telephone booth found east of the warp point. Swim around to the stairs of the island and cut the grass patch to obtain this item.
Secret Seashell #21
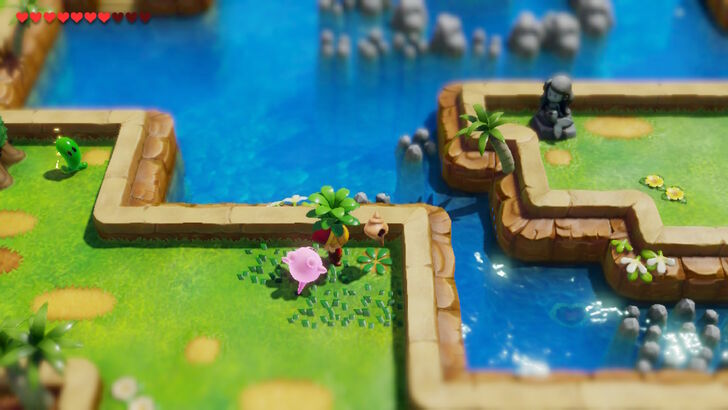
Now go to the right side of the telephone booth and you will see some tall grass in the corner surrounded by smaller grass. Use your sword to cut the grass here and find Secret Seashell #21.
Piece of Heart #22
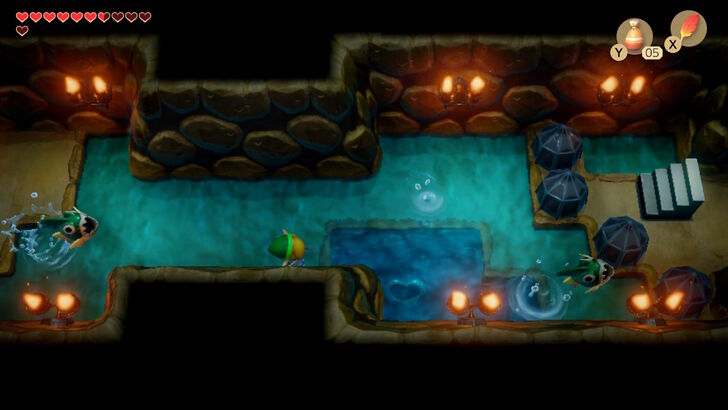
Using the Flippers, Piece of Heart #22 can now be obtained. Simply go back to the hidden staircase that led to Animal Vilage and enter the deep puddle of water. Dive down there to get this heart piece.
Piece of Heart #23
 |
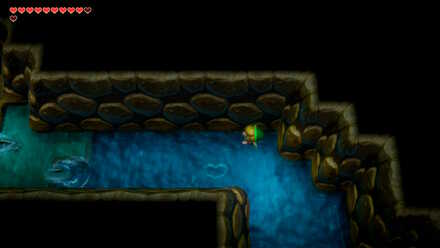 |
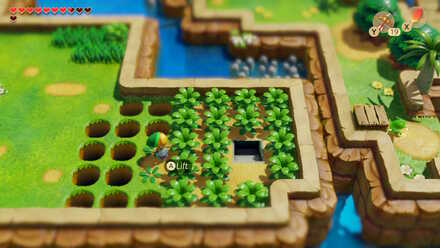
Southwest of the telephone booth here, you wil see several holes in the ground before many patches of grass. Use a dash-jump to jump across and quickly cut the grass to land on the other side. Go down the stairs and enter the water. Swim forward a bit and you should see a piece of heart. Dive down for Piece of Heart #23.
Item Capacity Upgrade
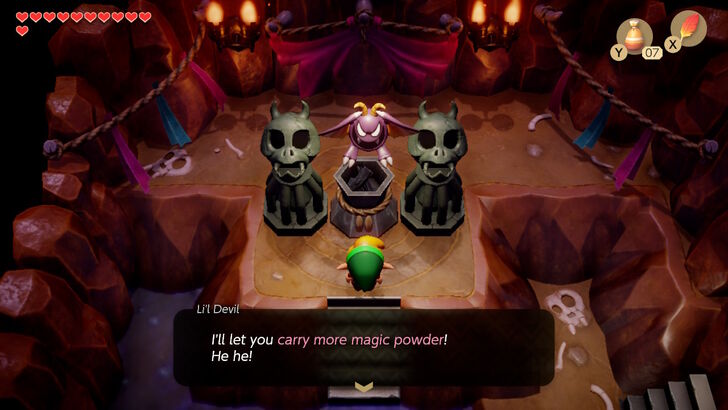
After obtaining the previous Piece of Heart, continue forward and go up the stairs. Go outside, then go downstairs once more and arrive in another cave with a torch. Use some Magic Powder to light it, revealing the Li'l Devil. He will let you upgrade your Magic Powder, Bombs, or Arrows, excluding whichever one has previously been upgraded. Select the one you would like to have increased (we recommended bombs, then arrows, and lastly magic powder).
Piece of Heart #24
 |
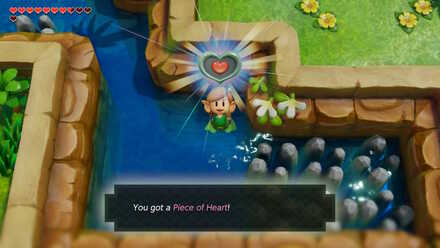 |
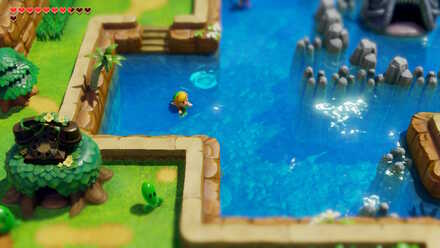
Piece of Heart #24 can be found by going down the stairs just northeast of the Martha's Bay warp zone. From there, swim diagonally down and left until you see the Piece of Heart underwater. Dive down to pick it up.
Entering Catfish's Maw
 |
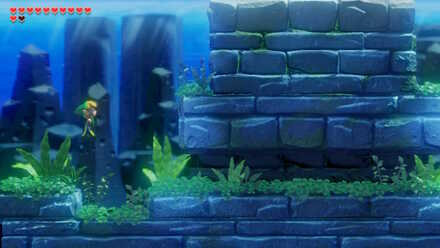 |
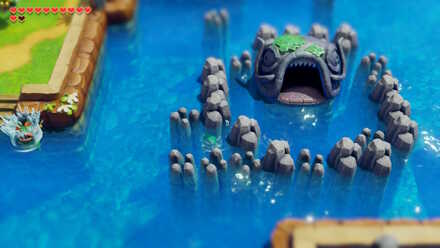
After you are done with side quests, it is time to head toward the dungeon. From the stairs you descended to obtain Heart Piece #24, head east toward the rocks and catfish statue in the center. There is a small opening in the west side of the rocks here with a whirlpool. Go here and dive down to enter a 2D zone. Swim low and then cross to the other side to arrive at the entrance to Catfish's Maw.
Catfish's Maw Dungeon Walkthrough
Catfish's Maw Map and Items
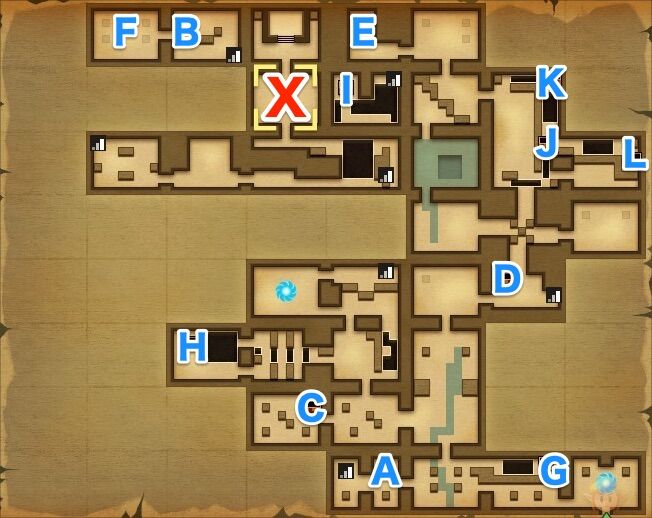
| Location on Map | Item |
|---|---|
| A | Compass |
| B | Small Key #1 |
| C | Stone Beak |
| D | Empty Chest |
| E | Map |
| F | Hookshot |
| G | 100 Rupees |
| H | Small Key #2 |
| I | Nightmare Key |
| J | 50 Rupees |
| K | 50 Rupees |
| L | Small Key #3 |
Catfish's Maw Objectives
| No. | Objective |
|---|---|
| 1 | Go two rooms left and defeat the enemies to obtain the Compass. |
| 2 | Go down the stairs to the other side. Push the blocks into a square to obtain Small Key #1. |
| 3 | Go to the room from before where you got the Compass. Go north, then two screens left. Defeat the Iron Masks for the Stone Beak. |
| 4 | Go two rooms right and head north. Defeat the Stalfos in this room to open the door. |
| 5 | Walk into the next room and defeat the Master Stalfos. |
| 6 | Go into the next room, then head north. Push the center block to navigate around the room to hit the switch and go through the right side door. |
| 7 | Defeat the Master Stalfos for a second time. |
| 8 | Go back one room, then head to the northern room. Head to the left screen by going to the upper left most section of the room. |
| 9 | Defeat the 3 Zol to open the door. Step inside and defeat Master Stalfos for a third time. |
| 10 | Go into the next room and grab the Map. Warp to the beginning of the dungeon. |
| 11 | Go back to where you obtained Small Key #1 and go into the left room. |
| 12 | Defeat Master Stalfos for the final time and pick up the Hookshot. |
| 13 | Go right one room, up, then left. Hookshot to the other side of the room, then go to the next screen to obtain Small Key #2. |
| 14 | Go two screens right and use the Hookshot to extend the bridge. Go two screens left and defeat Gohma. |
| 15 | Go back to where you fought Master Stalfos the first time. Go right one screen, then push the center block forward to go to the left room. |
| 16 | Go up one screen and dive into the pool of water. Swim to the other side and emerge, then use the Hookshot to reach the Nightmare Key. |
| 17 | Go back to the room with the center block and go to the northern room. From the bottom right corner, use the Hookshot to get across and go to the right to obtain Small Key #3. |
| 18 | Go back to where you fought Gohma and go to the upper right room, then down the stairs. Emerge on the other side and use the Hookshot to reach the other side. |
| 19 | Go into the Nightmare Lair and defeat Slime Eel to obtain the Wind Marimba. |
Compass
 |
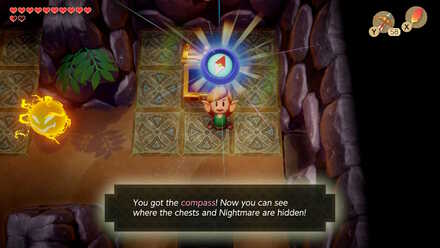 |
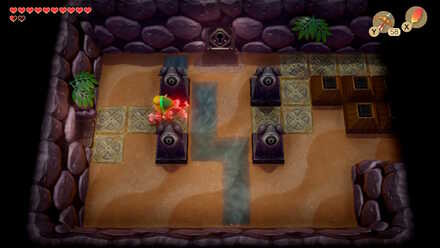
From the dungeon entrance, head straight into the left room. Here you will immediately be faced with a Spark, a Zol, and an Iron Mask. Defeat them and go on to the next room and dispose of the Iron Mask and Keese here. A door on the left side will open up after doing so, so go through it. Watch out for the Spark, and defeat the two Iron Masks here. Open up the treasure chest on the right side of the room to obtain the Compass.
Small Key #1
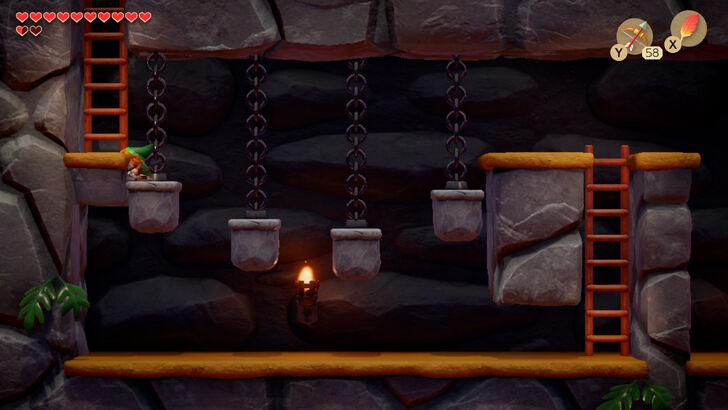
Head down the stairs to enter a platforming section. Here you will need to lift the platforms across from you by standing on the one nearest to you (like a scale). The second set of plaforms have two closer to you that lift the two closer to the ladder, so lift them enough so that you can hop to the other side and reach the ladder.
 |
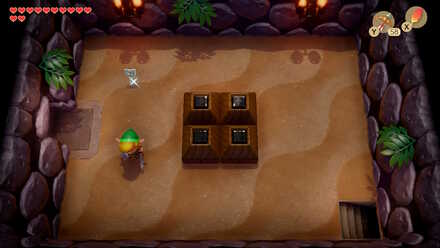 |
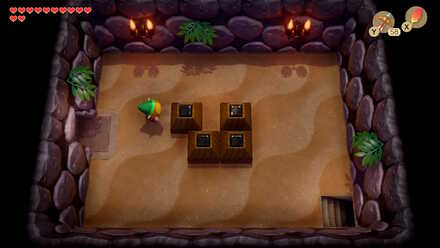
After emerging, you will enter a room with several purple crystals and a few Stalfos. Dispose of the Stalfos (watch out for the brownish ones' throwing attack), and push the center blocks together to form a square. Grab Small Key #1 after it drops down.
Stone Beak
 |
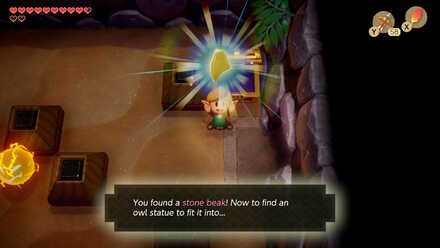 |
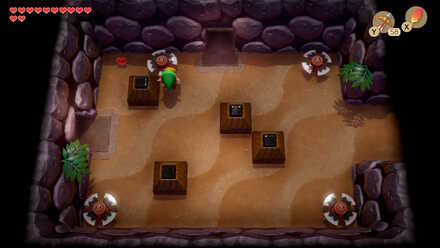
Head back to the room right before where you got the Compass, then use the small key to open the locked door on the top of this screen. In this room you are faced with two stalfos and an iron mask. Defeat or run past them and go to the left screen. Avoid the Blade Traps and defeat the Iron Masks to open the doors. Go into the left room, grab the 10 bombs, and defeat the two iron masks to obtain the Stone Beak from the chest.
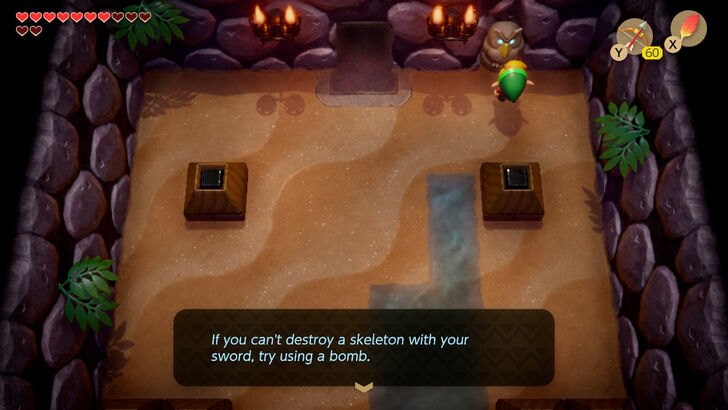
Go back two rooms (going right two screens). This time head north. Defeat the three stalfos here to open the upper door. The owl statue here reveals that you need to use bombs to defeat a skeleton. Continue north, and you will be faced with a mini-boss in the next room: the Master Stalfos.
Mini-Boss: Master Stalfos
 |
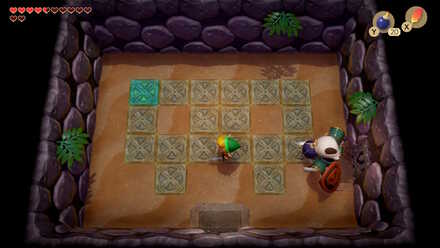 |
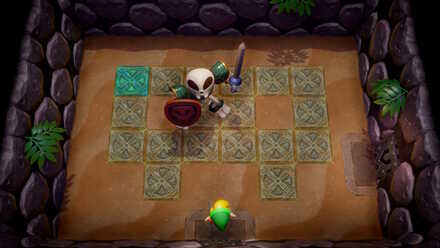
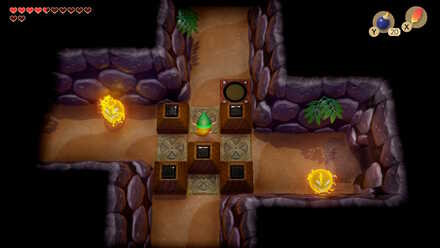
This guy will walk very slowly when close, in an attempt to hit you with his sword. If you get too far away, he will jump and try and land on you, but we can use this to our advantage. You need to slash him where he does not have shield coverage, which can be done easily by slashing right after he lands from a jump. When you do this, he will lose his figure for a moment, giving you a chance to drop a bomb and damage him. Do this a total of three times, and he will flee, opening the doors again. Continue to the right.
 |
 |
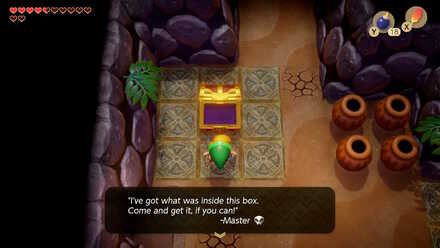
Going into the next room, you will find a chest, but upon opening it, it is revealed that the Master Stalfos has taken what was inside. Break the pots on your right to restock on bombs if needed, then head up a room. Push the center block forward and go to the left screen. There is nothing to gain from the rooms here, so go back a room and push the center block forward to travel to the northern room here. There is nothing to gain from this room (yet) either, so go back a screen, hit the switch, move the block, and go to the right screen.
Mini-Boss: Master Stalfos (2nd Battle)
 |
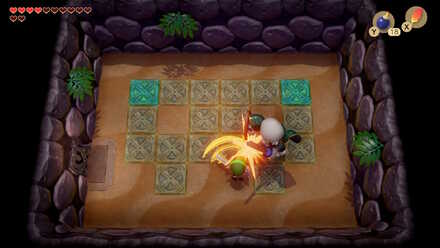 |
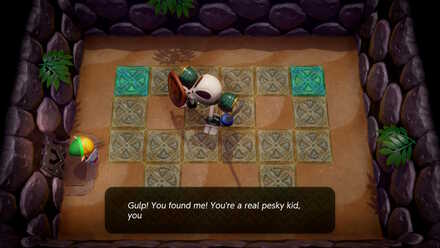
Upon entering this room, the Master Stalfos will drop down once again and initiate battle. His movement and are attacks are exactly the same as before, so use the same strategy that you previously used to take him out. Strike with your sword, then bomb him for a total of three times, and he will flee once more. Exit and go back to previous screen.
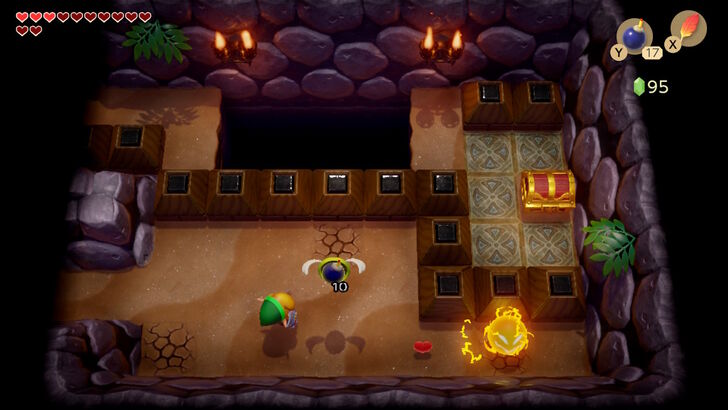
Push the block again and go to the northern room once more. This time, jump over the gaps and head to the right side room. A shrouded stalfos may be throwing javelins at you, so block his attacks and then hop over to defeat him, as well as the other shrouded stalfos and a new enemy called a Star. After going to the right side room, grab the bombs to restock, then go back one screen. This time head to the upper left screen.
Mini-Boss: Master Stalfos (3rd Battle)
 |
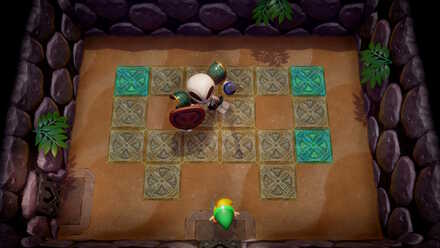 |
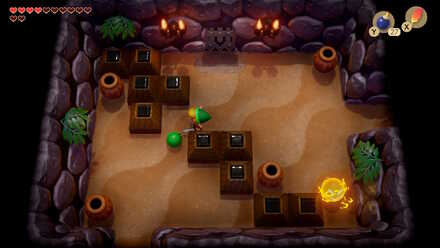
Defeat the two Zol here, then move the center pot and a Zol will appear on the other side. Push the block in front of you forward to travel that side and defeat it to open the upper door. Go through it and encounter the Master Stalfos a third time. Literally nothing has changed, so you know the drill. After bombing him the third time he will flee, opening the doors for you.
Map
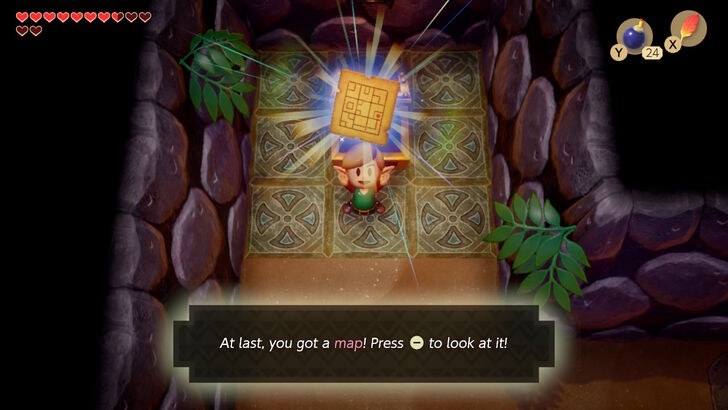
Go through the left door that opened. Move the pots and defeat the three stalfos in the room. Pick up the hearts if needed, then open the chest to obtain the dungeon map. Travel back to the beginning of the dungeon (you can quickly do so by playing Manbo's Mumbo with your ocarina), and go three rooms left, defeating or running past the respawned enemies along the way. Travel down the stairs once more and emerge on the other side. Go into the left screen and meet with the Master Stalfos the fourth and final time.
Mini-Boss: Master Stalfos (4th Battle) & the Hookshot
 |
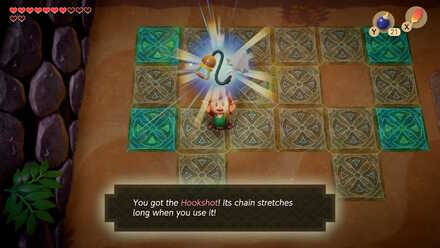 |
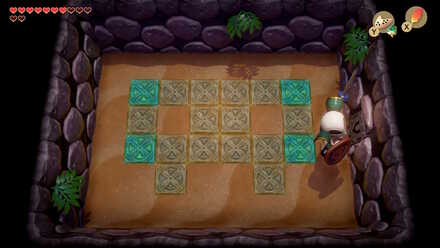
This time, Master Stalfos will begin attacking you without any warning. However, your strategy to defeat him is exactly the same. After the third bomb, Master Stalfos will explode, leaving behind the Hookshot for you to pick up. This weapon can be equipped to Y or X, and using it lets you latch on to distant blocks, stones, and treasure chests to travel over large gaps that you cannot jump past. In addition, you can stun enemies with it and use it to pull in distant hearts and rupees.
100 Rupees
 |
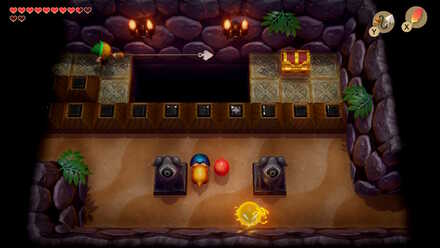 |
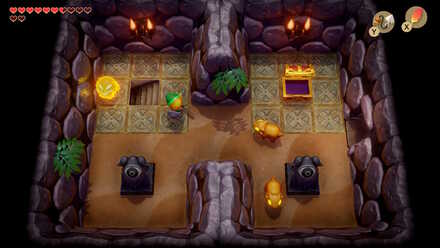
Hookshot in hand, most of the dungeon will become accessible to us. Head through the right screen and down the stairs until you reach the other side. Emerge and take care of the iron masks here. Note that you can use the Hookshot to pull off their masks and attack them head on. Go into the room on the right, and from this room, head to the upper right room via the small path. Use the Hookshot on the chest here to obtain 100 rupees. Hookshot to the block on the left side (over the gap, across from you) to go back.
Small Key #2
 |
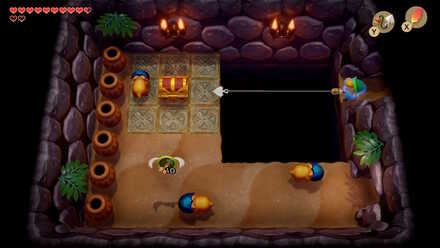 |
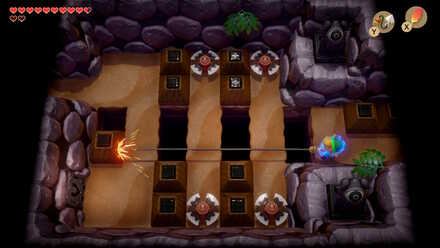
From the room right of where you came up the stairs, go up a room, left, then up another room, and then go left once more. In this room, there are several Blade Traps in your way, so Hookshot to the far left block to get to the other side undamaged. Go into the next room and Hookshot to the treasure chest on the other side of the large gap. Defeat the three Iron Masks by pulling off their masks with your Hookshot and slashing them with your sword. Open the chest for Small Key #2, then go through the door on the right side.
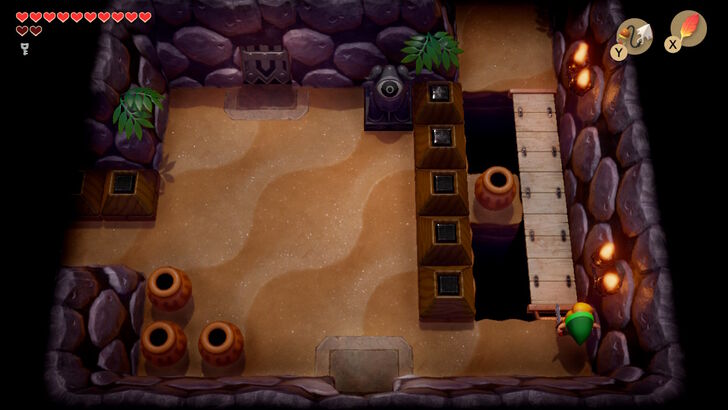
Hookshot to the far right block and go back to the room on your right. On the far right side of this room, you will see a large gap. Use your hookshot on the far right handle to pull it toward you, revealing a bridge (do not Hookshot the pot, as you will fall into the hole). Go across this bridge to the next room. Watch out for the enemies here, and (optionally) go through the locked block and head to the next room.
Mini-Boss: Gohma
 |
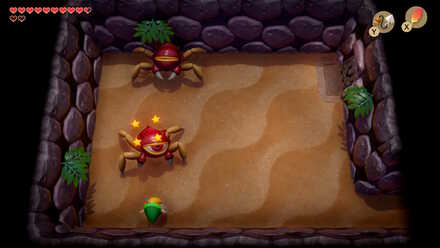 |
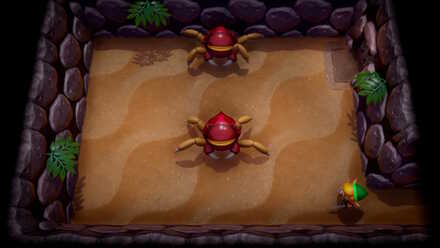
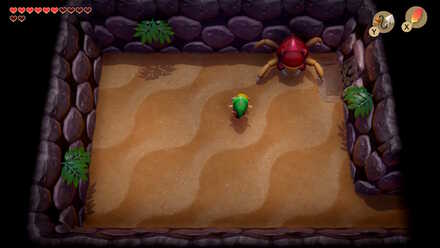
While this mini-boss is technically entire skippable, it can be done for a useful warp zone and a fairy. Gohma will repeatedly crabwalk left and right, before pausing and shaking with its eye partially open to let out a shot from its eye. Since it is invulnerable when its eye is closed, you must shoot it with your Hookshot when it opens to stun it, then press B as fast as you can to repeatedly slash at it.
 |
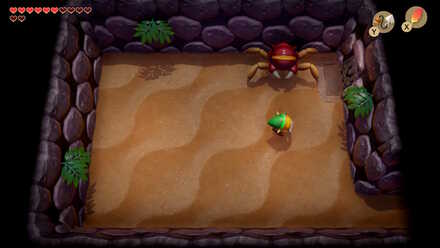 |
After taking some damage it may occasionally pause and charge forward at you (note that this animation has its eye remaining completely closed). After enough slashes from your sword you will defeat them both to reveal the warp point and a fairy. Bottle the fairy and head back to the screen you came from.
Nightmare Key
 |
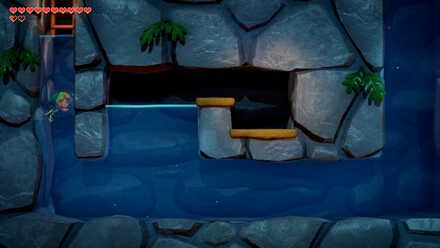 |
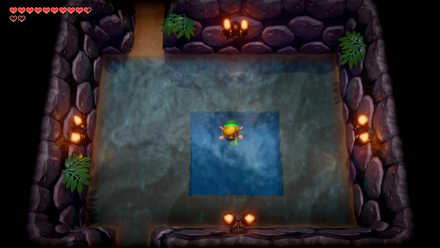
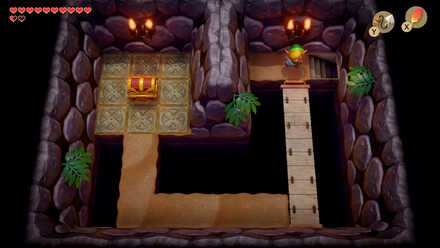
Go down two screens, then right one. From here, head north toward where you fought Master Stalfos the first time. Go into the next room. There are some stairs here, but you can ignore them, as all they lead to is an owl statue telling you to 'dive where torchbeams cross'. Continue north and push the block forward to enter the left room. From here, go north, and deal with the water tektites here. Step into the pool of deep water and dive down.
 |
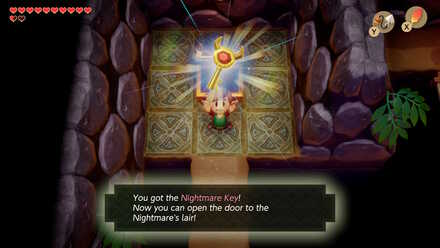 |
You will enter another platforming section with Bloopers and Goombas. Swim to the other side and climb the ladder. In the next room, you will be faced with a large gap and a lever across from you like before. Use your Hookshot to extend the bridge. Walk to the treasure chest and open it to obtain the Nightmare Key.
2 Purple Rupees
 |
 |
 |
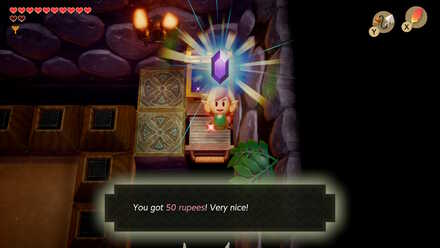 |
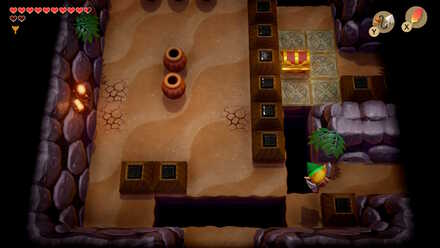
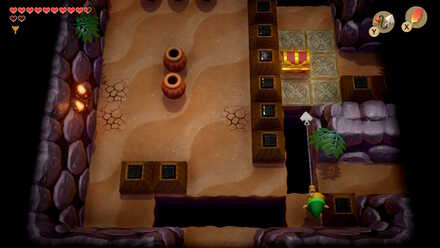
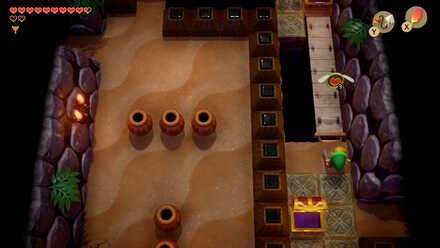
Head back to the pool you dove into, and emerge to go to the screen south of it, then go to the room with the center block. Push the block and go into the upper room. Jump to the lone space just right of the room entrance, and Hookshot to the treasure chest here. Open it to obtain 50 rupees. Go north and face across from the lever, then use the Hookshot across the large gap to extend the bridge. Grab the hearts if needed, and open the chest containing another 50 rupees.
Small Key #3
 |
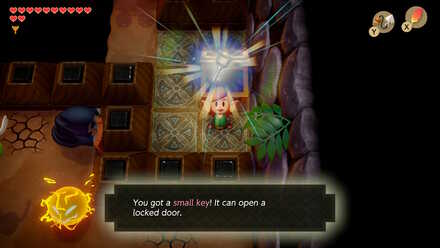 |
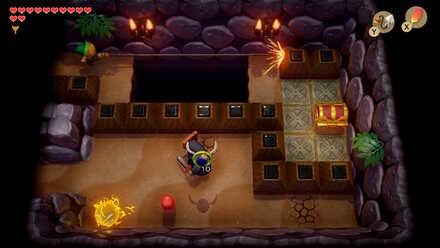
From where you opened the first chest with 50 rupees, go to the right screen. Hookshot across to the block opposite from you to reach the other side. Open the chest here for the final small key. Then Hookshot back to the other side.
Getting to the Nightmare Lair
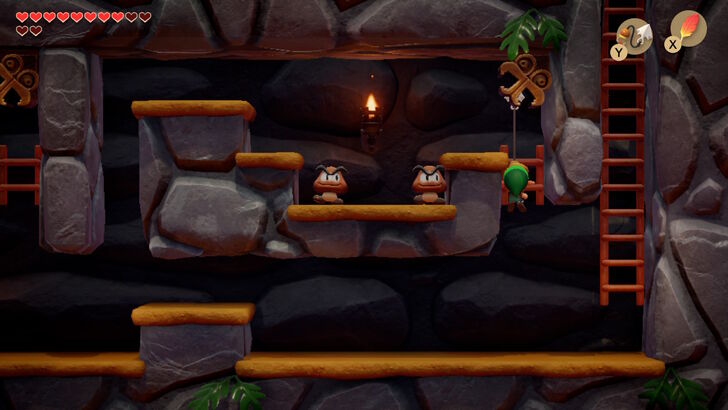
Play Manbo's Mambo to warp to the beginning of the dungeon once more. Now take the warp zone, and go to the upper right screen. Go down the stairs here to enter a platforming area. You can hold up to face the corner and Hookshot to the object there to reach the top. Do this on the second one you come across and climb the ladder. Unlock the locked block here, walk around the blocks until you face one on the opposite site, then Hookshot across the gap. Open the door here and proceed to the Nightmare Lair.
Catfish's Maw Nightmare: Slime Eel
 |
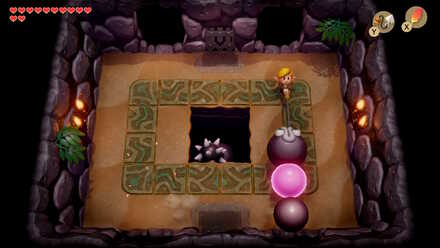 |
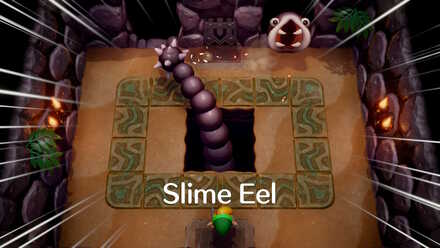
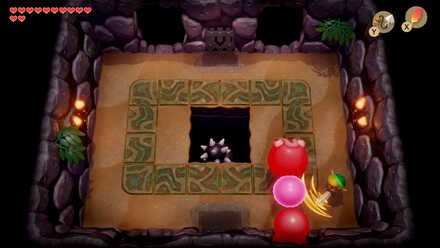
Slime Eel has a large tail in the center of the room with the spiky tip that you need to watch out for. Throughout the battle, it will swing its tail around the room and peak its head through one of the four holes to try and bite you. When it does this and has its mouth open, Hookshot its head from the other side of the room to pull it forward and expose its body. There will be a pink glowing round section that you can strike repeatedly to damage it.
 |
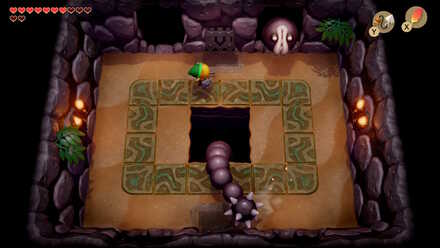 |
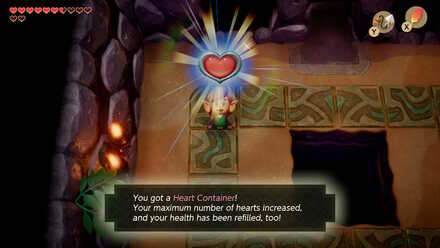
Continue damaging in this way. Slime Eel will sometimes peak through the hole and not have any pupils. Hookshotting to one of these when they appear will reveal a false Slime Eel that will move around before exploding. Avoid these ones, and continue the process of attacking the real Slime Eel until you hit him enough times to defeat him. He will explode and drop a Heart Container.
 |
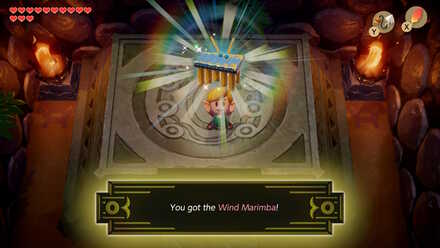 |
Continue into the next room and grab the Wind Marimba to complete the dungeon.
Link's Awakening Related Guides

List of All Dungeons and Story Walkthrough
All Dungeon Walkthroughs
Author
The Legend of Zelda: Link's Awakening Walkthrough & Guides Wiki
Level 5 - Catfish's Maw Walkthrough
improvement survey
03/2026
improving Game8's site?

Your answers will help us to improve our website.
Note: Please be sure not to enter any kind of personal information into your response.

We hope you continue to make use of Game8.
Rankings
- We could not find the message board you were looking for.
Gaming News
Popular Games

Genshin Impact Walkthrough & Guides Wiki

Honkai: Star Rail Walkthrough & Guides Wiki

Umamusume: Pretty Derby Walkthrough & Guides Wiki

Pokemon Pokopia Walkthrough & Guides Wiki

Resident Evil Requiem (RE9) Walkthrough & Guides Wiki

Monster Hunter Wilds Walkthrough & Guides Wiki

Wuthering Waves Walkthrough & Guides Wiki

Arknights: Endfield Walkthrough & Guides Wiki

Pokemon FireRed and LeafGreen (FRLG) Walkthrough & Guides Wiki

Pokemon TCG Pocket (PTCGP) Strategies & Guides Wiki
Recommended Games

Diablo 4: Vessel of Hatred Walkthrough & Guides Wiki

Fire Emblem Heroes (FEH) Walkthrough & Guides Wiki

Yu-Gi-Oh! Master Duel Walkthrough & Guides Wiki

Super Smash Bros. Ultimate Walkthrough & Guides Wiki

Pokemon Brilliant Diamond and Shining Pearl (BDSP) Walkthrough & Guides Wiki

Elden Ring Shadow of the Erdtree Walkthrough & Guides Wiki

Monster Hunter World Walkthrough & Guides Wiki

The Legend of Zelda: Tears of the Kingdom Walkthrough & Guides Wiki

Persona 3 Reload Walkthrough & Guides Wiki

Cyberpunk 2077: Ultimate Edition Walkthrough & Guides Wiki
All rights reserved
© 1993-2019 Nintendo
The copyrights of videos of games used in our content and other intellectual property rights belong to the provider of the game.
The contents we provide on this site were created personally by members of the Game8 editorial department.
We refuse the right to reuse or repost content taken without our permission such as data or images to other sites.


![Everwind Review [Early Access] | The Shaky First Step to A Very Long Journey](https://img.game8.co/4440226/ab079b1153298a042633dd1ef51e878e.png/thumb)

![Monster Hunter Stories 3 Review [First Impressions] | Simply Rejuvenating](https://img.game8.co/4438641/2a31b7702bd70e78ec8efd24661dacda.jpeg/thumb)


