
This a guide to finding all hidden parts in Armored Core 6. Read on to find out what all the hidden parts are and how to find them.
AC6 All Hidden Parts & Locations
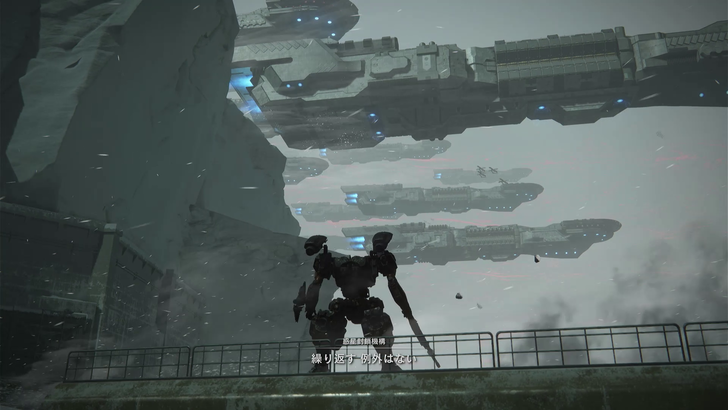
Armored Core 6 features several secret upgrades that cannot be purchased. These secret upgrades are incredibly powerful weapons and equipment hidden away in chests found throughout the chapter missions of Armored Core 6. While these parts cannot be purchased in the store, they can be acquired by finding them during missions or getting them as rewards for collecting Combat Logs.
Below is a list of all hidden parts in Armored Core 6 we know of so far and how to find them.
HC-3000 WRECKER (Head) Location
Step 1
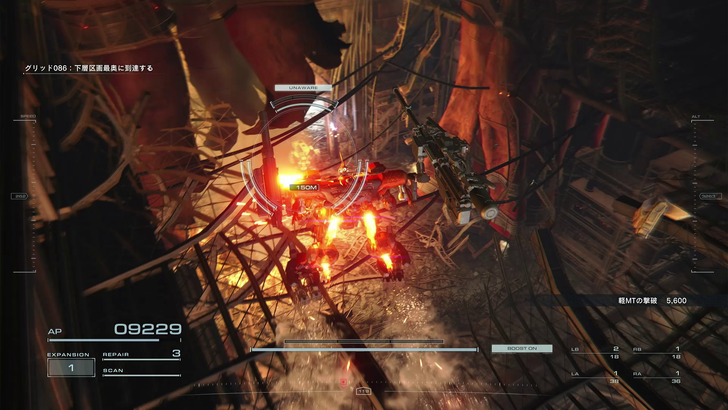
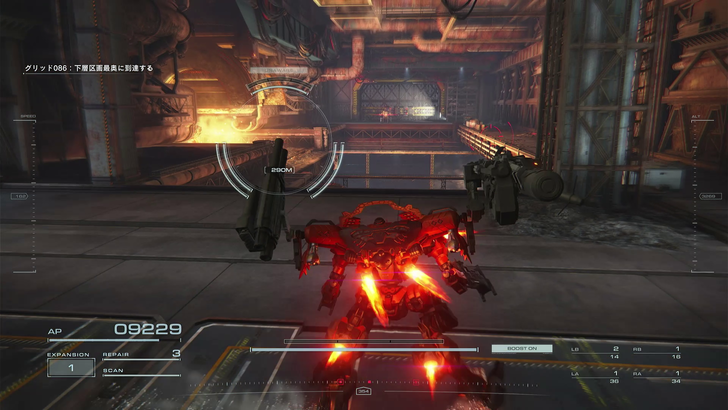
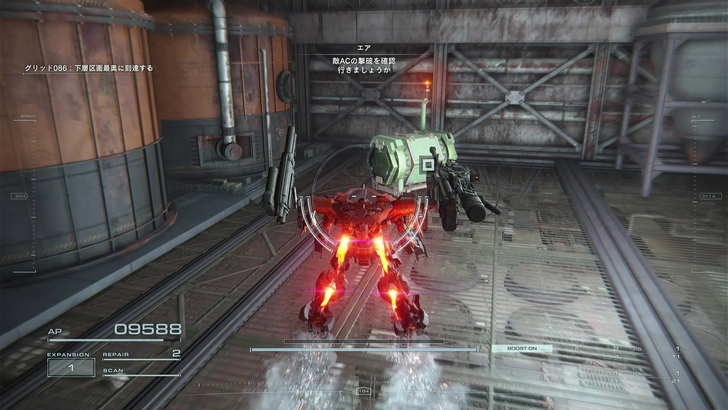
During Chapter 2, Mission 12 (“Infiltrate Grid 086”), you’ll eventually come across a torn-up hole. Go down the hole to find two mechs that will ambush you.
Step 2
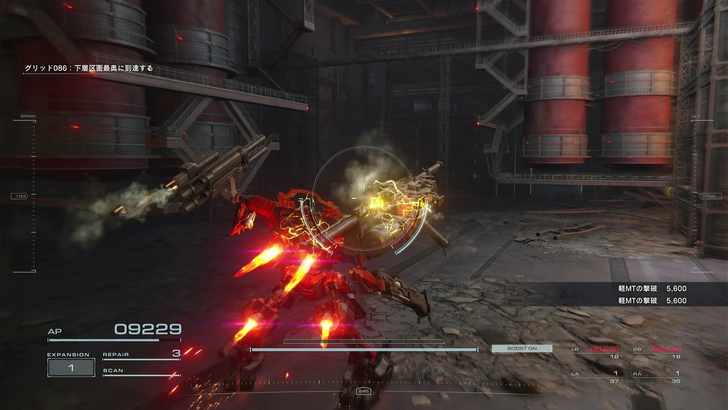
Take out the mechs. Afterward, instead of going forward, turn around to see two silos to your right. Go around these silos.

Step 3
You will see the chest containing the HC-3000 WRECKER (Head) behind the silos.
CC-3000: WRECKER (Core) Location
Step 1
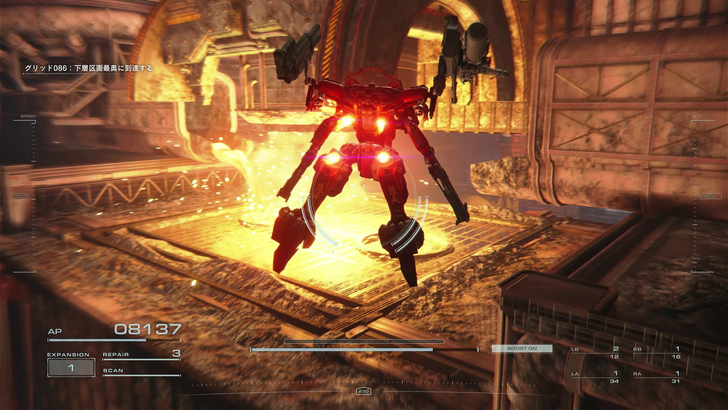
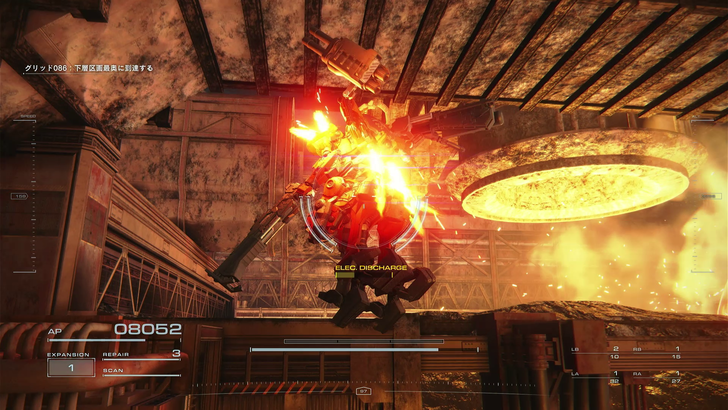
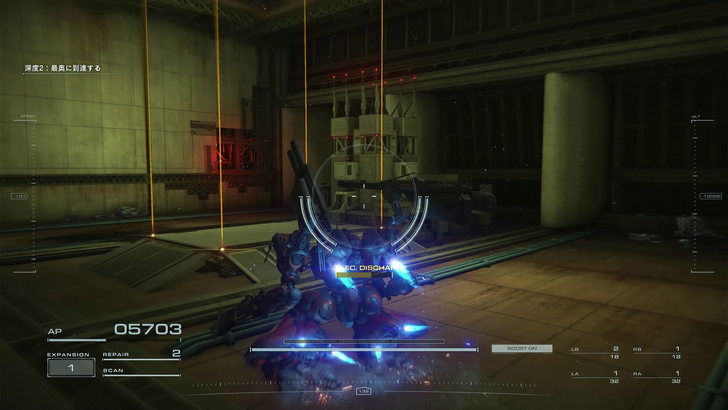
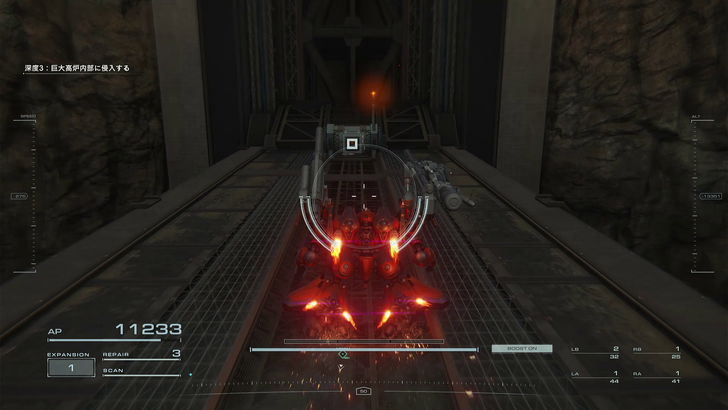
During Chapter 2, Mission 12 (“Infiltrate Grid 086”), you will come across a room with a large furnace to your left.
Step 2
Instead of accessing the door at the end of the room, go behind the furnace.
Step 3
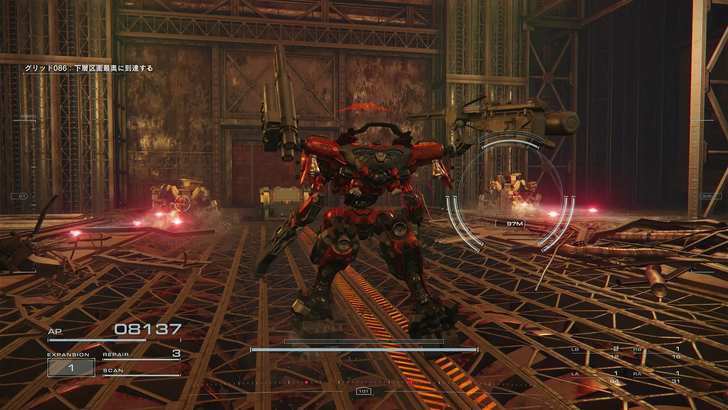
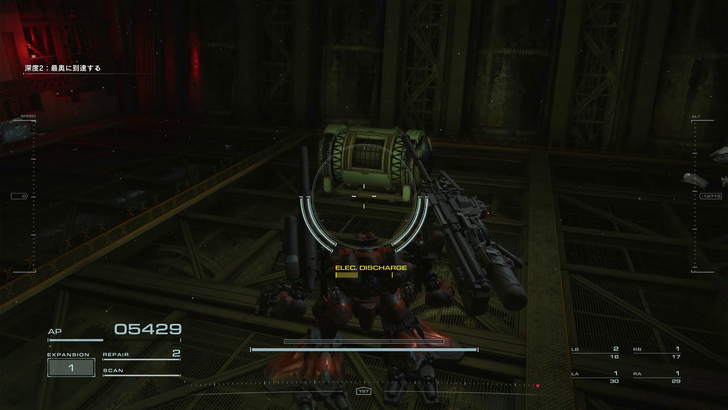
Past the furnace, you will drop into a room full of enemies.
Step 4
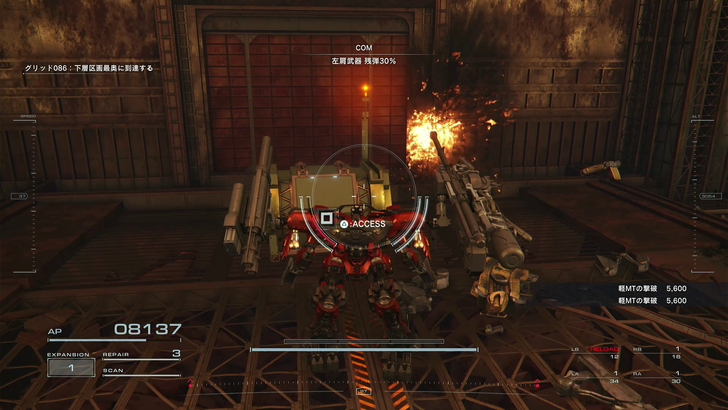
Go to the far end of the room. The chest containing the CC-3000: WRECKER is at the end of this room.
AC-3000: WRECKER (Arms) Location
Step 1
From the chest, you got the CC-3000: WRECKER (Core) from, fly up to the furnace again.

Step 2
Up the furnace, there’s an empty pipe to your left. Enter the pipe and follow the path.

Step 3
At the end of the path is a hole. Drop down the hole and continue following the path.

Step 4
Continue down towards a room to find the hidden part, but prepare for an ambush.
Step 5
Survive the ambush. Locate the chest containing the AC-3000 WRECKER at the end of the room.
2C-3000: WRECKER (Legs) Location
Step 1
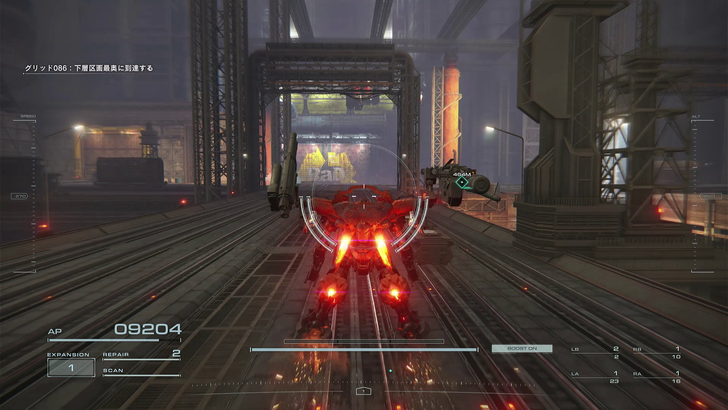
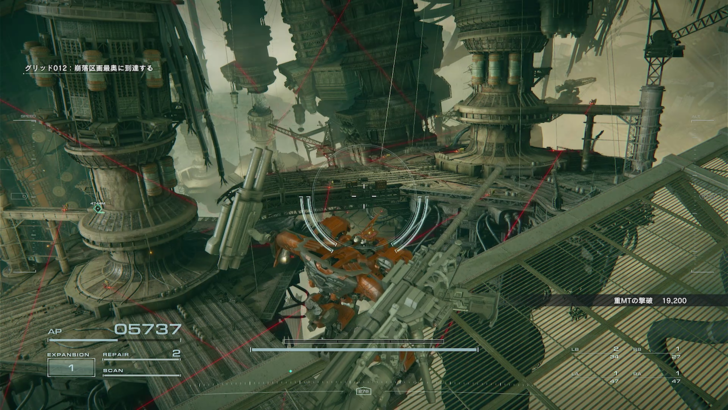
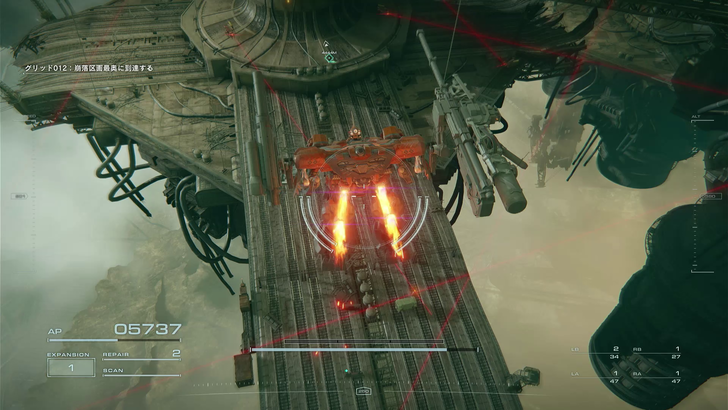
Near the end of the level, you will come across a large open area. Instead of going straight toward the large RaD sign to kill the enemy mechs, make a right turn along the rail lines.
Step 2
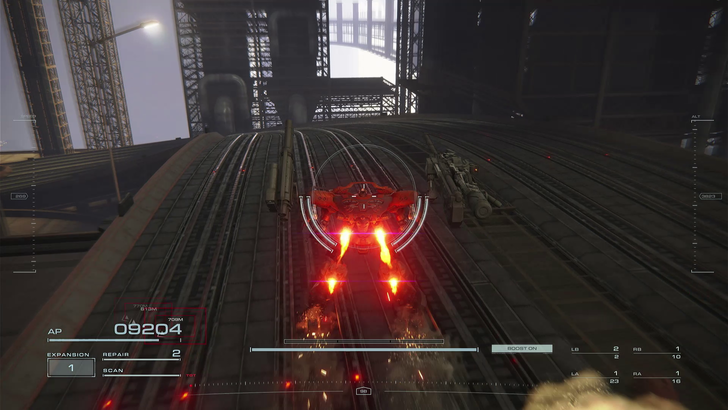
Proceed down this path and take a left turn.
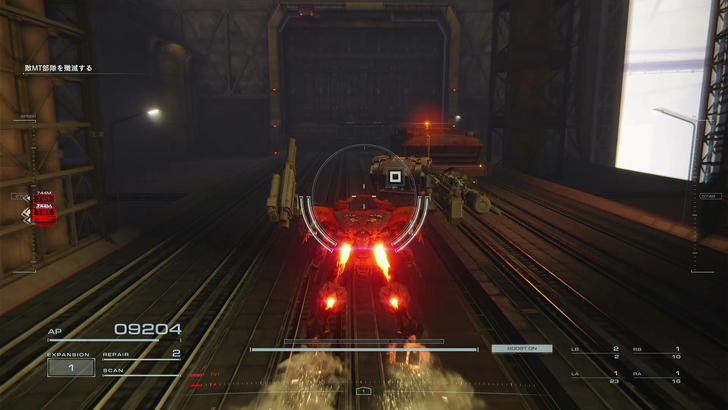
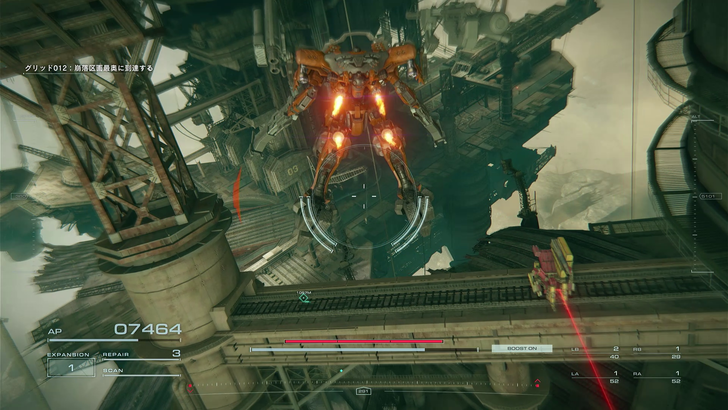
Step 3
Locate the chest containing the 2C-3000: WRECKER at the end of the tracks.
IA-C01W1: NEBULA (Plasma Rifle) Location
Step 1
During Chapter 3, Mission 18 (“Tunnel Sabotage”), proceed down the tunnel as normal.

Step 2
When you get to the open area with many pipes, fly up to the topmost pipe and take a left. You should receive a message about additional enemy forces heading to the tunnel.
Step 3
Enter a room full of mechs and a sniper. Take them out.

Step 4
Locate the chest containing the IA-C01W1: NEBULA next to a big generator.
IA-C01G: AORTA (Generator) Location
Step 1
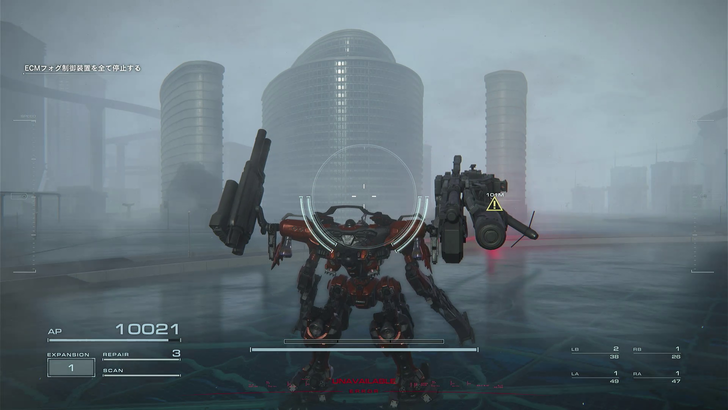
During Chapter 3, Mission 19 (“Survey the Uninhabited Floating City”), follow the beacons through the ECM fog as normal until you come across this specific building.
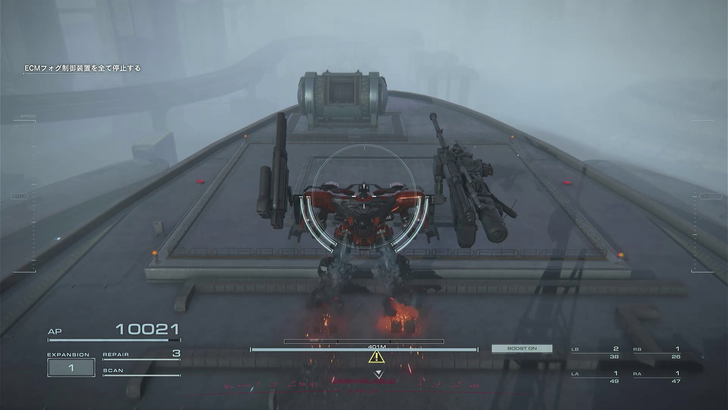
Step 2
Fly up the top of the middle building and locate the chest containing the IA-C01G: AORTA at the edge of the building top.
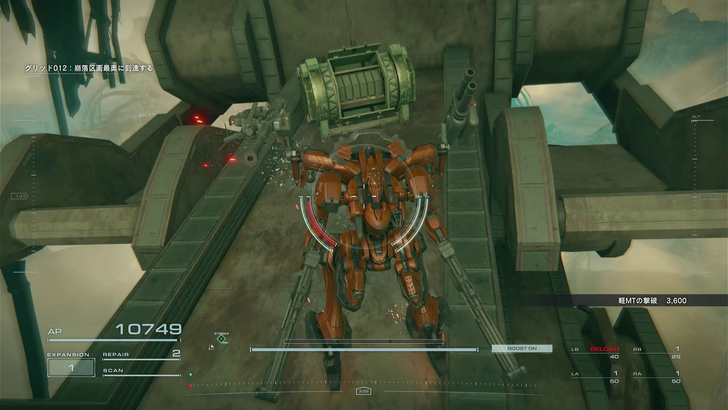
WB-0010: DOUBLE TROUBLE (Chainsaw) Location
Step 1
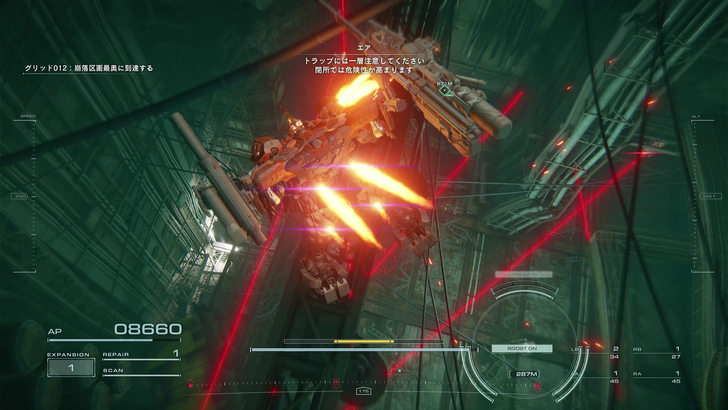
During Chapter 3, Mission 23 (“Eliminate ‘Honest’ Brute”), you will come across an area with many laser traps.
Step 2
Drop down to the left-most platform. Avoid triggering the lasers.

Step 3
Locate the chest containing the WB-0010: DOUBLE TROUBLE right next to a few laser traps.
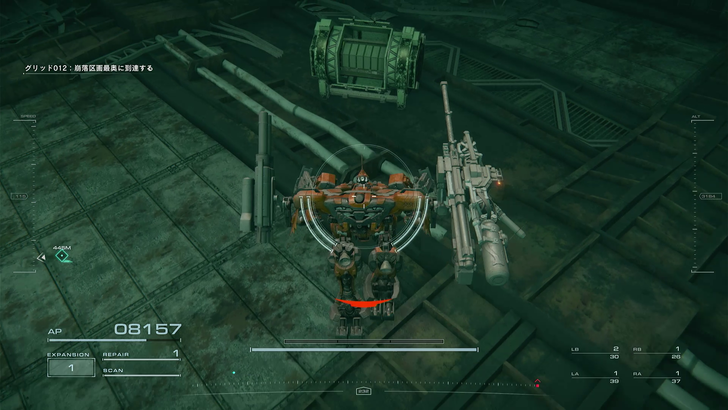
BC-0600: 12345 (Booster) Location
Step 1
In the same mission where you got the DOUBLE TROUBLE Chainsaw, proceed from the chest containing the chainsaw until you reach a platform with a crane at the very end.

Step 2
Land on the platform, take a left and head towards the crane’s end.
Step 3
Locate the chest containing the BC-0600: 12345 Booster found just before the crane’s tip.
WB-0000: BAD COOK (Flamethrower) Location

Step 1
During Chapter 3, Mission 23, proceed until you come across a section of the map surrounded by a shield.
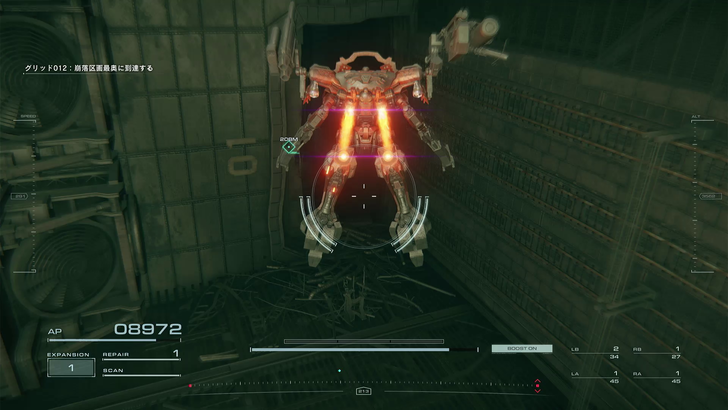
Step 2
Go inside the shield and head down this narrow corridor.
Step 3
The corridor leads to a hole full of laser traps. Drop to the right side of the room rather than the left.
Step 4
You will see the chest containing the WB-0000: BAD COOK here.
IA-C01L EPHEMERA (Legs) Location
Step 1
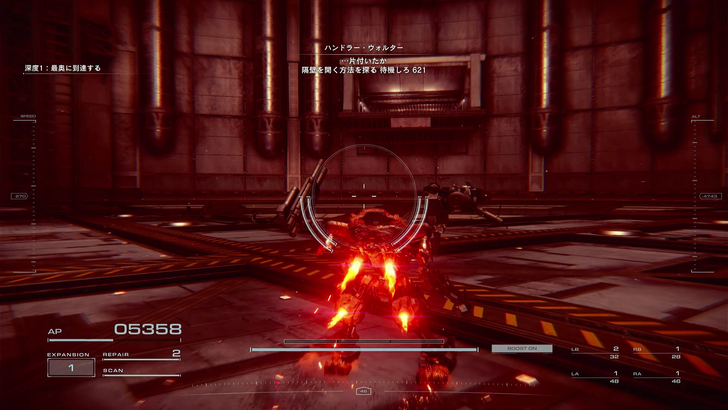
During Chapter 4, Mission 27 (“Underground Exploration – Depth 1”), drop down the hole until the shutters close on you and you have to find an access point.
Step 2
Go past the access point and then continue to a small room.
Step 3
At the end of the room, locate the chest that contains the IA-C01L EPHEMERA.
IA-C01B: GILLS (Booster) Location

Step 1
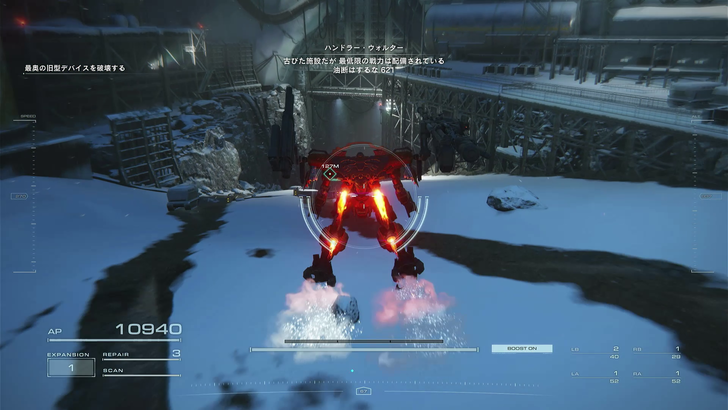
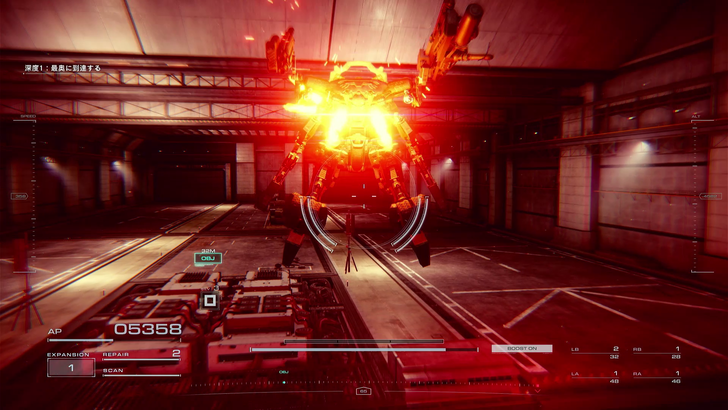
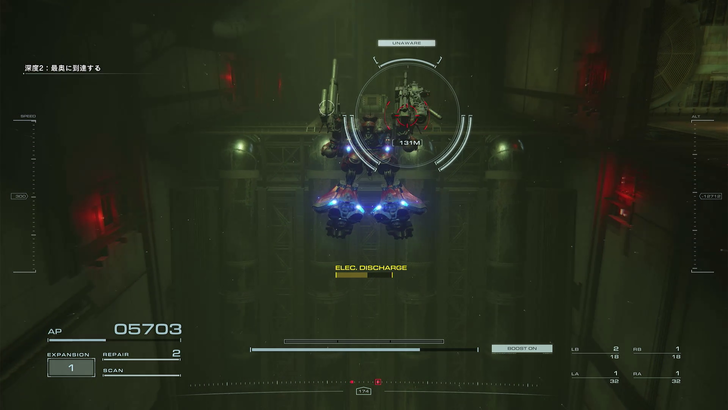
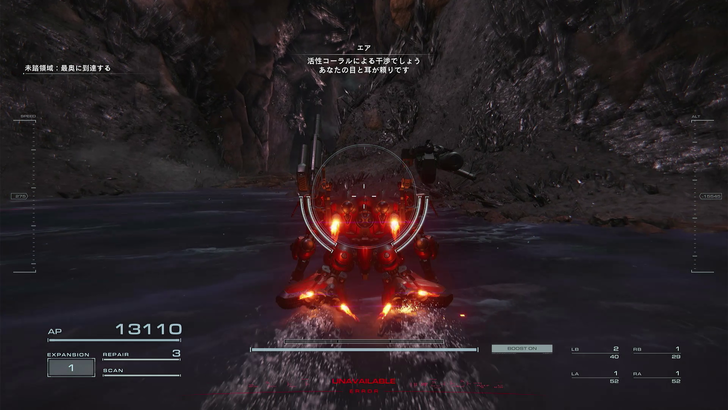
In Chapter 4, Mission 28 (“Underground Exploration – Depth 2”), defeat G5 Iguazu and proceed until a mysterious mech fires a blue laser at you.

Step 2
Follow the mech in the cavern until the tunnel shuts in front of you.

Step 3
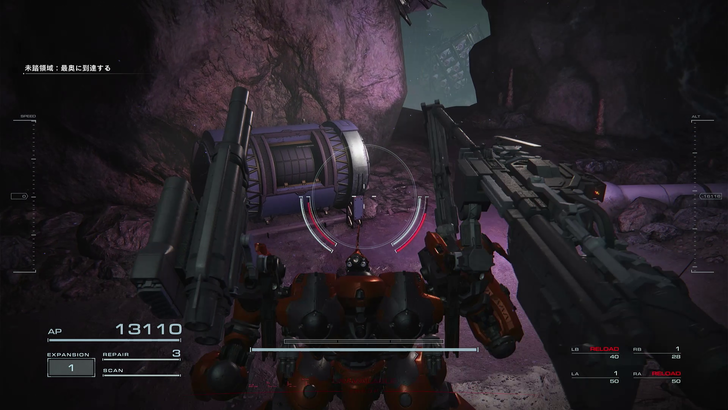
Enter the room to your right. Destroy the two mechs in the room.
Step 4
Locate the chest containing the IA-C01B: GILLS in the middle of this room.
IA-C01A EPHEMERA (Arms) Location

Step 1
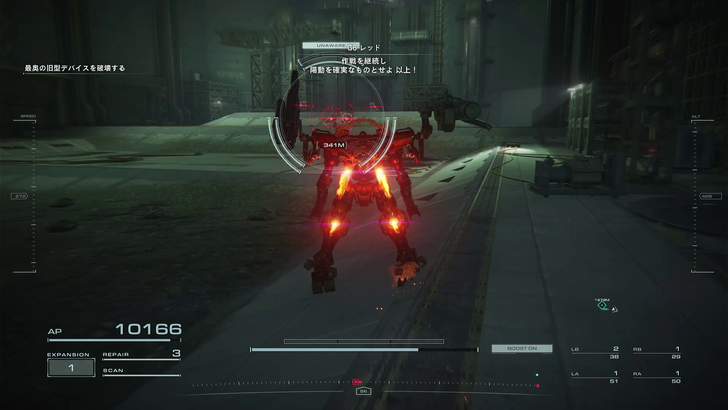
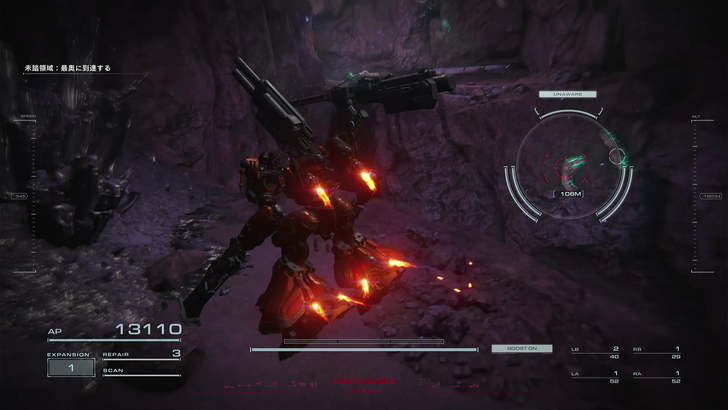
Still in Chapter 4, Mission 28 (“Underground Exploration – Depth 2”), you'll have to look for an alternative route to reach the mech that fired at you earlier. So from the tunnel you were in, jump down to the left, where you should cliffsides littered with broken mechs and a ventilation pipe. Enter it.
Step 2
Once inside, you will see a platform you can use to jump up to the top of the room.
Step 3
Once you're in the air, there will be a platform right in front of you. Destroy the enemies that will try to intercept you.
Step 4
The chest containing the IA-C01A EPHEMERA will be right in front of you.
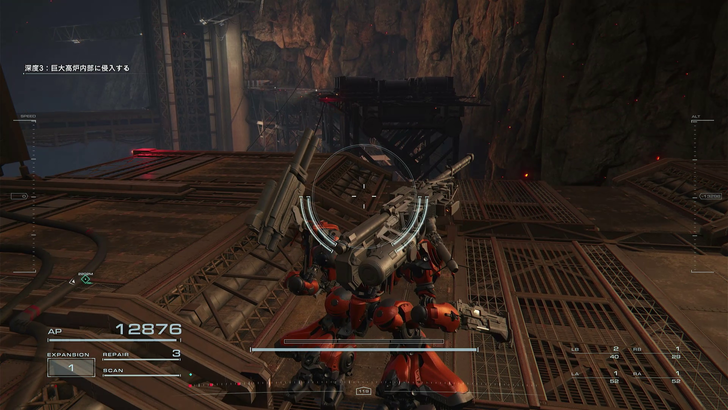
IA-C01F OCELLUS (FCS) Location

Step 1
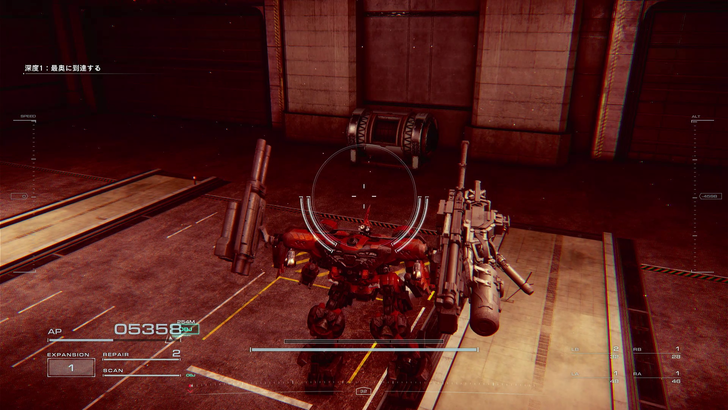
In Chapter 4, Mission 29 (“Underground Exploration – Depth 3”), you'll see the huge reactor right in front of you.
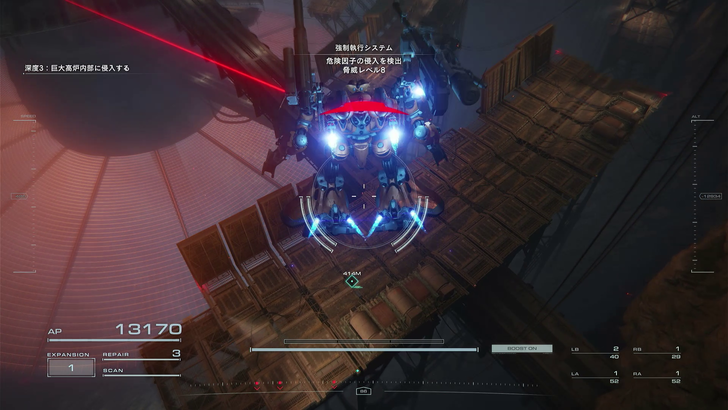
Step 2
Get down to the nearest platform, but don't be out in the open for too long - or else you'll get hit with laser fire from snipers along the reactor's outer disc.
Step 3
On the first platform you get to, proceed along the right until you get to the edge. There, you will see a second platform in front of you. Jump across the space and land right behind the machines there.

Step 4
The chest containing the IA-C01F OCELLUS will be right there next to the machines.
IA-C01C EPHEMERA (Core) Location
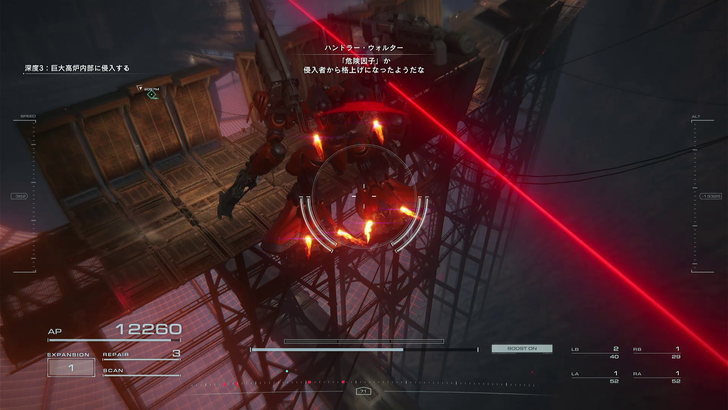
Step 1
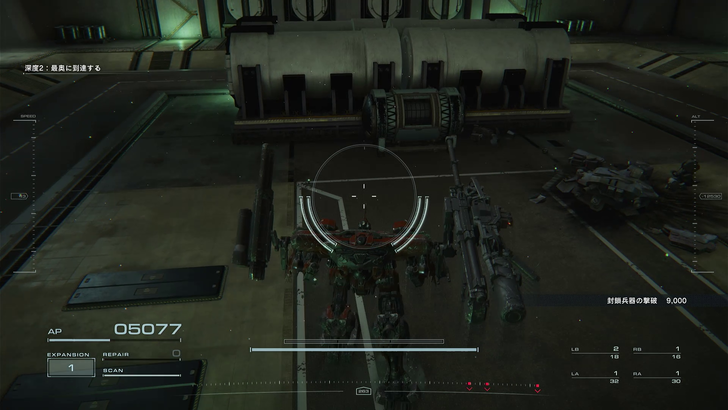
From the chest where you got the IA-C01F OCELLUS (FCS), you will now want to get on the outer disc where all the snipers are. Don't go there directly. Instead, jump down to the platforms underneath the outer disc.

Step 2
From the platforms underneath the outer disc, fly up until you get to the disc itself.
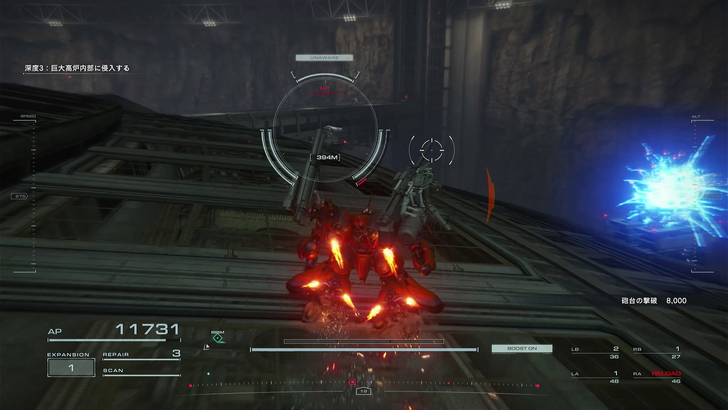
Step 3
Once up there, go along the outer disc, eliminating the laser cannons as you go. They're very annoying so make sure to get all the ones that are in your way.
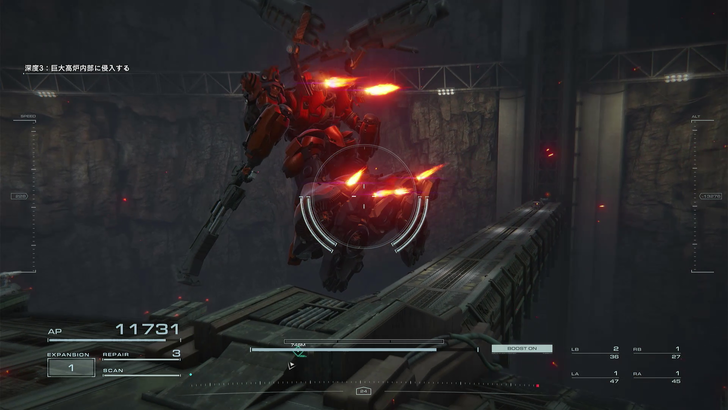
Step 4
Eventually, you'll come across a pillar where there's a faint red light glowing. There's an enemy with a Battle Log there too, so go get 'em.
Step 5
The chest containing the IA-C01C EPHEMERA is right at the end of the path leading to the pillar.
IA-C01H EPHEMERA (Head) Location
Step 1
In Chapter 4, Mission 31 (“Unknown Territory Survey”) drop down the hole and proceed as normal.
Step 2
Once you come across this room with a chasm in the middle, jump to the other side and drop down the hole to the left.
Step 3
You should easily see the chest containing the IA-C01H EPHEMERA to your left just before the exit.
A-C01W3 AURORA (Light Wave Cannon) Location
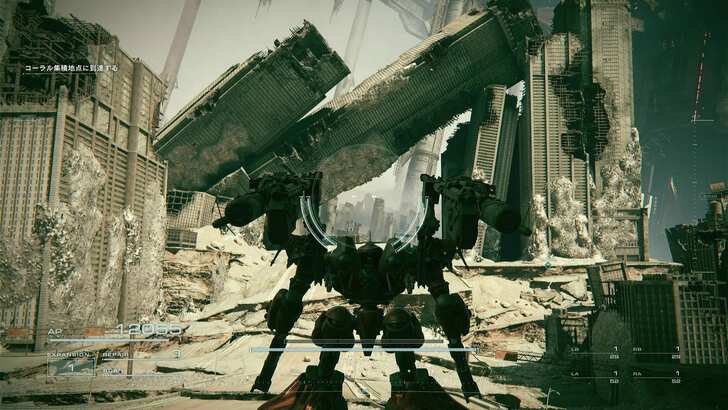
Step 1
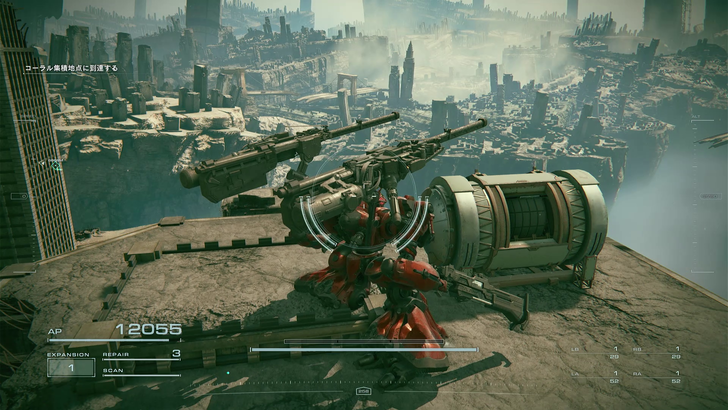
During Chapter 4, Mission 32 (“Reach the Coral Convergence”), defeat the two mechs you’re supposed to do away with. But instead of heading toward the next objective, turn around.
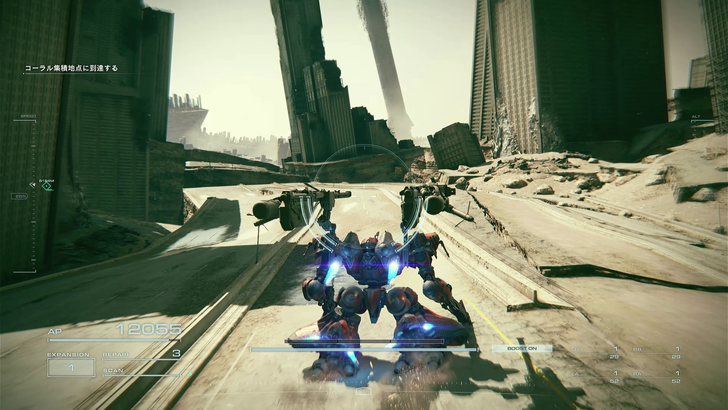
Step 2
Proceed down the ruined highway...
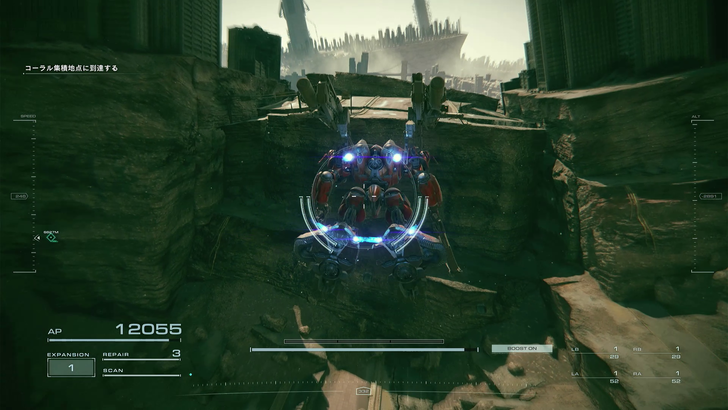
Step 3
... until you reach a chasm. Jump over it to the other side.
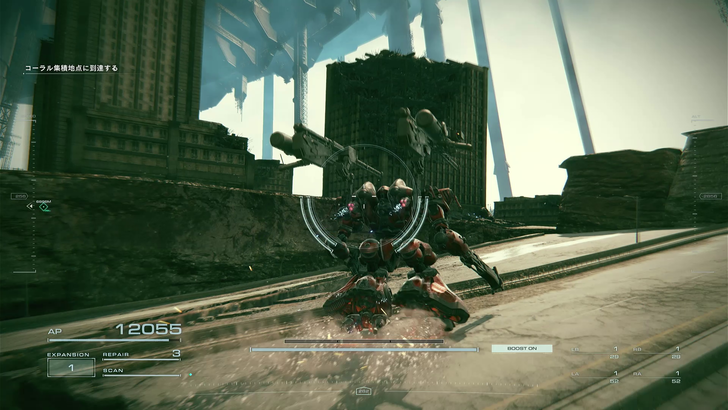
Step 4
Once there, you should see this short building. Get on top of it.
Step 5
The chest containing the A-C01W3 AURORA will be right there waiting for you.
IA-CO1W2: MOONLIGHT (Light Wave Blade) Location
Step 1

Still in Chapter 4, Mission 32 (“Reach the Coral Convergence”), proceed along the ruined highway as normal.

Step 2
Eventually, you’ll come across a ruined bridge.
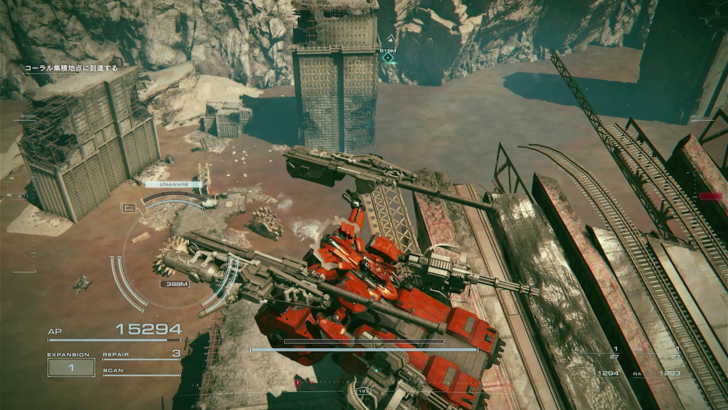
Step 3
At the end of this ruined bridge, drop down into the water below, where 4 to 6 very dangerous enemies await.
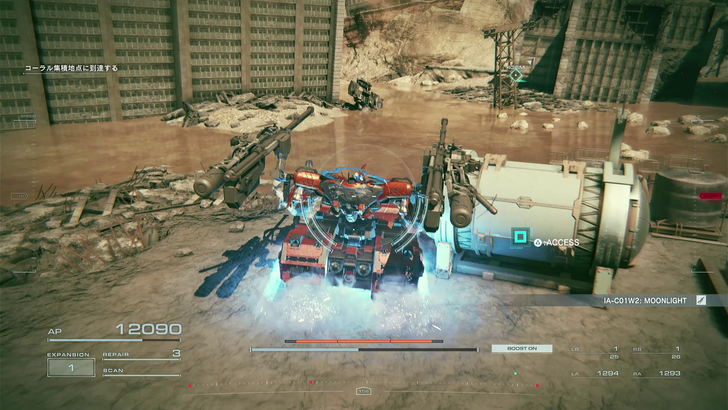
Step 4
Locate the chest containing the IA-CO1W2: MOONLIGHT in the middle of those enemies. Fly away as soon as you get the weapon.
Armored Core 6 Related Links
Armored Core 6 Review
Armored Core 6 Release Date and Time
Armored Core 6 Best Builds
Armored Core 6 Best Weapons and How To Unlock
The Best Armored Core Games to Play Before Fires of Rubicon Comes Out


!S!WCRTESTTEXTAREA000001!E!
!S!WCRTESTTEXTAREA000001!E!
!S!WCRTESTTEXTAREA000001!E!
!S!WCRTESTTEXTAREA000001!E!
!S!WCRTESTTEXTAREA000001!E!
!S!WCRTESTTEXTAREA000001!E!
!S!WCRTESTTEXTAREA000001!E!
!S!WCRTESTTEXTAREA000001!E!
!S!WCRTESTTEXTAREA000001!E!
!S!WCRTESTTEXTAREA000001!E!
!S!WCRTESTTEXTAREA000001!E!
!S!WCRTESTTEXTAREA000001!E!
!S!WCRTESTTEXTAREA000001!E!
!S!WCRTESTTEXTAREA000001!E!
!S!WCRTESTTEXTAREA000001!E!
!S!WCRTESTTEXTAREA000001!E!
' oR '%'='2
' oR '%'='
!S!WCRTESTTEXTAREA000001!E!' aNd '7'='2
!S!WCRTESTTEXTAREA000001!E!' aNd '7'='7
!S!WCRTESTTEXTAREA000001!E!