☆ Earn bonuses before you start the DLC.
★ Clear campaign & sub-quests | Get max lvl
☆ Learn all the ingredients in this new Gourmet Saga!
★ Get all Beyond the Dawn Trophies with these guides:
☆ Ryugola Weapons | All Portraits | Hero of the Summit
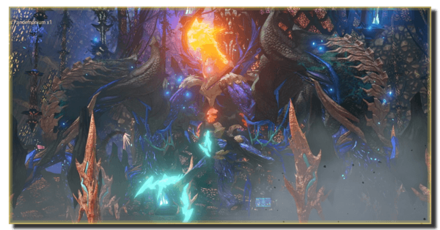
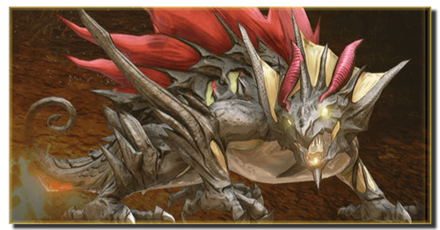
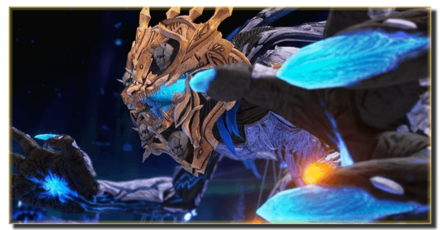
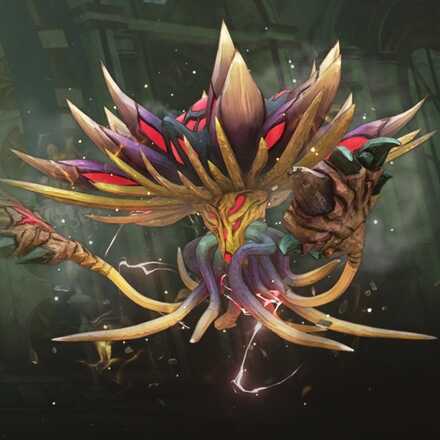
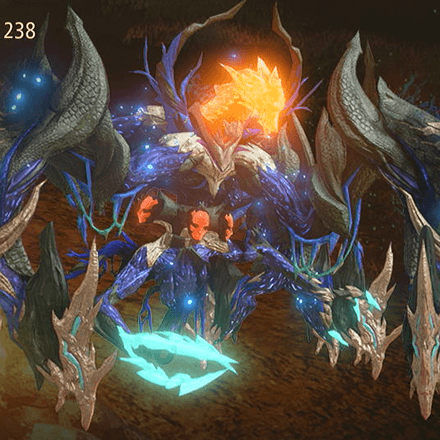
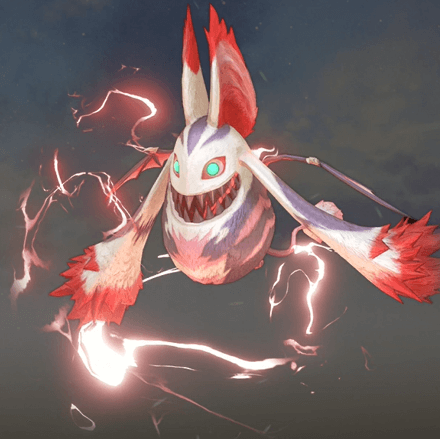
This is a guide on how to beat Meneiys in Tales of Arise! Learn more about Meneiys's stats, weaknesses, attack patterns, and the best party setup including Artes and Equipment for this boss fight!
List of Contents
| Map | Actual Location |
|---|---|
 |
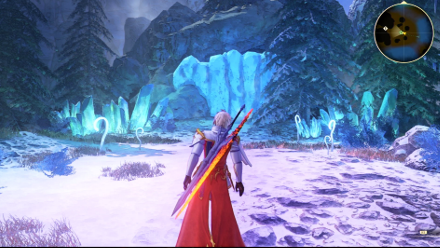 |
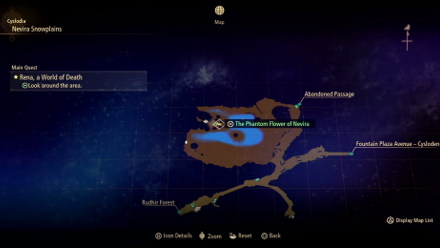
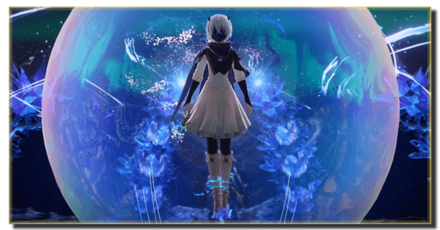
Meneiys can be found in the Nevira Snowplains during the Sub-Quest The Phantom Flower of Nevira. From the secret tunnel you use to get into Cyslodia, simply head westward to the banks of a small island in the middle of a lake to trigger the fight.
The Phantom Flower of Nevira Sub-Quest Walkthrough: Rewards and How to Clear
| Recommended Level: 50 | |||
|---|---|---|---|
 HP: 341290 |
|||
| Attack | 3591 | Defense | 1139 |
| Elemental Attack | 4182 | Elemental Defense | 1550 |
| Penetration | 3210 | Resistance | 3379 |
| Weakness | Resistance | ||
| No items to display. |
| Tips |
|---|
While directly controlling Shionne is not necessarily the best way to win the battle, she is the best choice for long-ranged attackers available in your party.
By using a long-ranged attacker, you can deal damage from afar while avoiding Meneiys attacks. Select any long-ranged character you wish and attack from a distance, dodging now and then to avoid Meneiys' charges.

Meneiys is quick to recover from being staggered by Boost Attacks. Also the boss' attacks have a small area of effect range to them, making it difficult to keep a long combo chain going, especially for melee characters.
Choose your most powerful Arte and use it quickly before moving out of the way of its counter-attacks before using it again. Rinse and repeat this process until the battle ends.
In a similar vein to choosing a long-range fighter, you should avoid fighting anywhere close to Meneiys to avoid its powerful attacks. Should any long-ranged character be unavailable or simply knocked out of the fight, what you can do instead is to have the boss aggro to whichever player-controlled character you have and run around in circles around the map to buy time.
This lets your remaining allies deal damage to the boss – be careful, however, as moving too far away from the creature will cause it to aggro towards another character instead.
| Leader | Members | ||
|---|---|---|---|
 Shionne Shionne
Lv.50 |
 Alphen Alphen
Lv.50 |
 Rinwell Rinwell
Lv.50 |
 Dohalim Dohalim
Lv.50 |
As an alternative to making use of Dohalim as your group's primary healer, you can instead opt to make use of items for any of your healing needs for this battle. This will free up Dohalim, adding more focus and firepower to your party while still providing your party with healing should you need it.
|
Shionne
Lv.50 |
Equipment |
|---|---|
| Sclopetum Rene | |
| L'Aze Phiarquis | |
| Magic Emblem | |
| Ground Artes | Aerial Artes |
| First Set | |
| Burning Strike | Displode |
| Flare Tornado | Scorched Earth |
| Explosion | Tres Ventos |
| Second Set | |
| Healing Circle | Toxicity |
| Freeze Lancer | - |
| Gravitas Field | - |
Use Shionne as your primary controlled character throughout the fight. With her at the helm, stay as far away as you can from the fight, running away from your chosen spot only when Meneiys charges at you. In between each run, take time to spam 3 or 4 repetitions of the Tres Ventos Arte which, while not being the most powerful Arte you have, it is very fast and it tracks your target.
|
Alphen
Lv.50 |
Equipment |
|---|---|
| Sodeil Arthalys | |
| Gahm Arthalys | |
| Protect Ring | |
| Ground Artes | Aerial Artes |
| First Set | |
| Lightning Thrust | Rising Falcon |
| Mega Sonic Thrust | Stardust |
| Sword Rain: Alpha | Mirage |
| Second Set | |
| Swallow Blade | Devastation |
| Demon Fang | Luna Rondo |
| Severing Wind | Soaring Light Spear |
Use Alphen's Boost Attack at any time outside of Meneiys' Over Limit state to stagger it. Once the boss is stunned, you can switch to Shionne to use her other Artes that require longer cast times until Meneiys eventually recovers. Alternatively you could use this time to fire off more Tres Ventos shots.
|
Rinwell
Lv.50 |
Equipment |
|---|---|
| Historia Rene | |
| Diamond Cloak | |
| Pierce Emblem | |
| Ground Artes | Aerial Artes |
| First Set | |
| Holy Lance | Electric Discharge |
| Thunder Blade | Celestial Hammer |
| Photon Flash | - |
| Second Set | |
| - | - |
| - | - |
| - | - |
You can leave Rinwell to perform any of her attacks as she wishes. With Shionne being the primary focus of Meneiys, Rinwell will have little trouble casting her Artes safely. This will help deal more elemental damage to the boss over the course of the fight.
|
Dohalim
Lv.50 |
Equipment |
|---|---|
| Cadeceus Rene | |
| Diamond Cape | |
| Magic Emblem | |
| Ground Artes | Aerial Artes |
| First Set | |
| Negative Gate | Demon's Lance |
| Bloody Howling | Tornado Drive |
| Elusive Deity | Soaring Blast |
| Second Set | |
| Heal | Eagle Rage |
| Seismic Rupture | Rotating Piledriver |
| Solitary Captivity | Sonic Spear |
With Shionne drawing aggro for most of the fight, Dohalim can take over as the main healer for this fight. Your allies shouldn't be receiving too much damage from the boss' attacks with it following Shionne, but when needed, use Dohalim for quick heals or revives as needed.
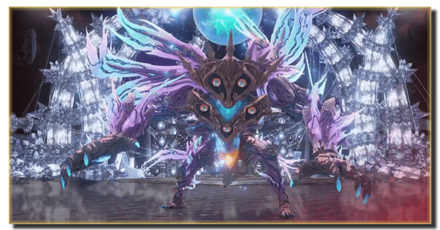
Meneiys can cycle through a neutral and an additional 3 different elemental states throughout the battle. By order, it will move from:
In each of these states, it will be able to perform ranged and close-quarters attacks powered by the given element.
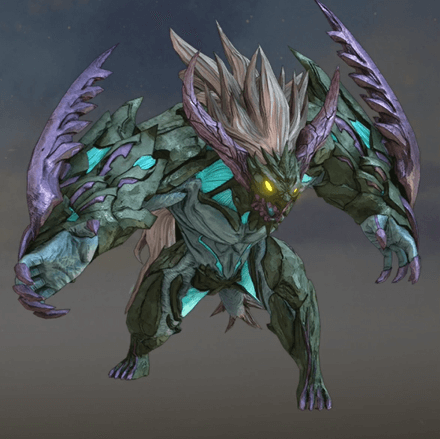
Meneiys can perform a charge attack regardless of which elemental state it is in. It will charge straight towards whichever character you are controlling, hitting anything in its path.
You can get around these attacks by using Alphen or Kisara's Boost Attacks to stop it in its tracks. Alternatively, you can simply dodge out of the way or stay out of range.
| Story Bosses | |
|---|---|
 Nimus Pandemonium Nimus Pandemonium |
 Venoflage Venoflage |
 Nazamil Nazamil |
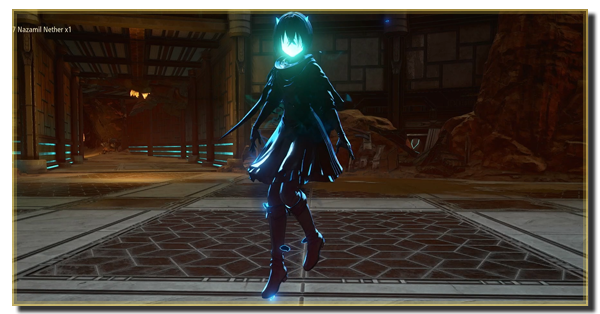 Nazamil Nether Nazamil Nether
|
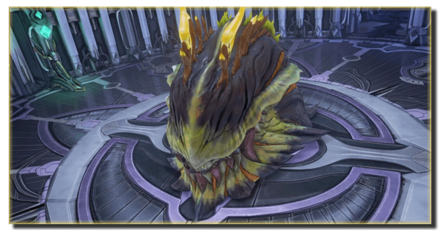 Ooze Hive Ooze Hive |
Nazamil Nether (2nd Encounter) |
| Nazamil Nether (3rd Encounter) |
 Captive Nazamil Captive Nazamil |
 Oppressor Oppressor |
 Emergence Suppressor Emergence Suppressor |
| Optional Bosses | ||
|---|---|---|
 Ruthless Ruthless
|
 Boisterous Roper Boisterous Roper
|
 Cruel Keeper Cruel Keeper |
 Megawrecker Megawrecker |
 Ghoulish Arms Ghoulish Arms |
 Nimus Juggernaut Nimus Juggernaut |
 Grinymuk Grinymuk |
 Mother Boomy Mother Boomy |
- |
Meneiys Boss Guide: Recommended Setup and How to Beat

Genshin Impact Walkthrough & Guides Wiki

Honkai: Star Rail Walkthrough & Guides Wiki

Pokemon Scarlet and Violet (SV) Walkthrough & Guides Wiki

FF7 Rebirth Walkthrough & Guides Wiki

Stellar Blade Walkthrough & Guides Wiki

Monster Hunter Rise: Sunbreak Walkthrough & Guides Wiki

Persona 3 Reload Walkthrough & Guides Wiki

Palworld Walkthrough & Guides Wiki

Pokemon UNITE Walkthrough & Guides Wiki

Call of Duty Modern Warfare 3 (MW3) Walkthrough & Guides Wiki

Elden Ring Walkthrough & Guides Wiki

Super Smash Bros. Ultimate Walkthrough & Guides Wiki

Pokemon Legends: Arceus Walkthrough & Guides Wiki

FF7 Remake Walkthrough & Guides Wiki

New Pokemon Snap Walkthrough & Guides Wiki

Hyrule Warriors: Age of Calamity Walkthrough & Guides Wiki

The Legend of Zelda: Breath of the Wild Walkthrough & Guides Wiki
© BANDAI NAMCO Entertainment America Inc. All third party content, brands, names, and logos are used under license and remain property of their respective owners. All rights reserved.
The copyrights of videos of games used in our content and other intellectual property rights belong to the provider of the game.
The contents we provide on this site were created personally by members of the Game8 editorial department.
We refuse the right to reuse or repost content taken without our permission such as data or images to other sites.

 Balseph
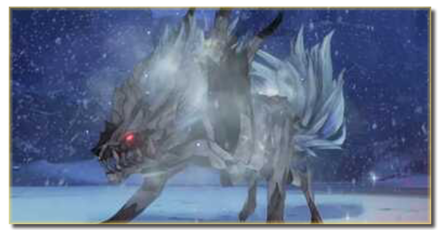 Ice Wolf Leader
 Ooze Hive
 Lord Ganabelt
 Zacarania
 Kisara
 Dohalim
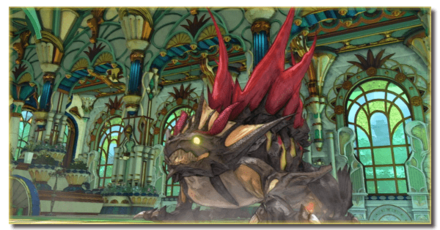 Venoflage
 Temararus
 Grinymuk
 Almeidrea & Mesmald
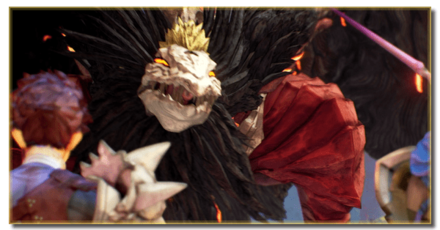 Meria Phein
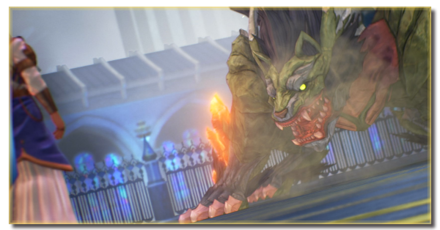 Kalmarzel & Kaldinzel
 Vholran
 Eljarania
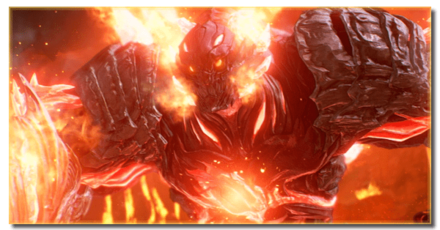 Efreet
 Tormented Limbs
 Red Woman
 Valclynimus
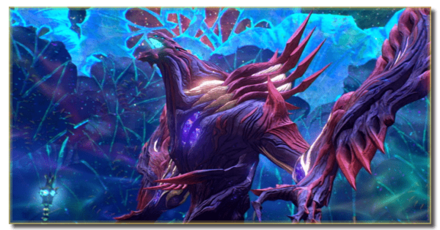 Great Astral Spirit
 Subsumer
 Vholran (Final Boss)
 Toxidillo
 Boisterous Roper
 Polycephus
 Great Dragon
 Relentless Charger
 Flamewrecker
 Alpha Reaper
 Stormbringer
 Elemental
 Regent Bee
 Agony Keeper
 Mother Boomy
 Ruthless
 Thunderite
 Mantis
 Calamity Arms
 Ezamamuk
 Sword Dancer
 Undine Drop
 Luo Undine
 Grand Gnome & Vas Phein
 Masher Mare & Masher Bull
 Procella Sylph & Sylph Zloa
 Mesmald
 Edna
Edna Nimus Origin
 Eizen
Eizen Edna & Eizen
 Chronos
 Dulneiys, Maleiys, & Vasneiys


Theres actually some gear you can get before this point thats better than the Diamond Stuff.