Kalmarzel & Kaldinzel Boss Guide: Recommended Setup and How to Beat
☆ Earn bonuses before you start the DLC.
★ Clear campaign & sub-quests | Get max lvl
☆ Learn all the ingredients in this new Gourmet Saga!
★ Get all Beyond the Dawn Trophies with these guides:
☆ Ryugola Weapons | All Portraits | Hero of the Summit
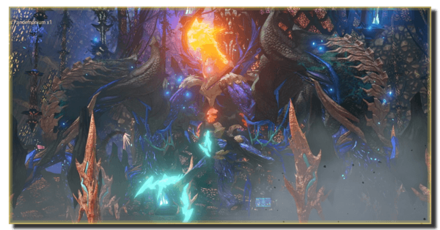
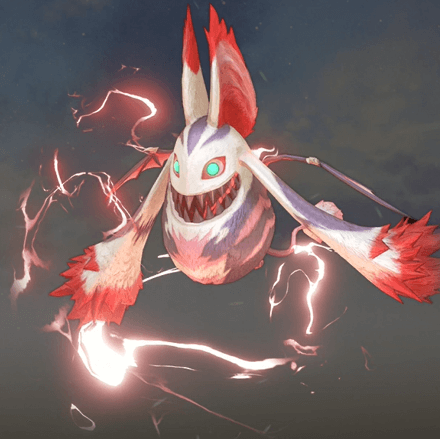
Kalmarzel & Kaldinzel are bosses you fight in the Tales of Arise (Beyond the Dawn)! Read on to learn more about tips on how to beat Kalmarzel & Kaldinzel, as well as stats, weaknesses, attack patterns, and the best party setup including Artes and Equipment in this boss guide!
List of Contents
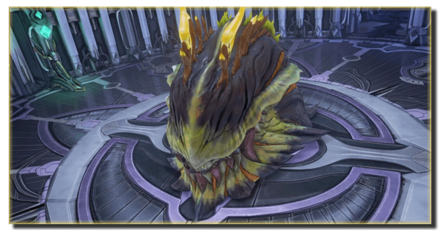
Kalmarzel & Kaldinzel Stats and General Info
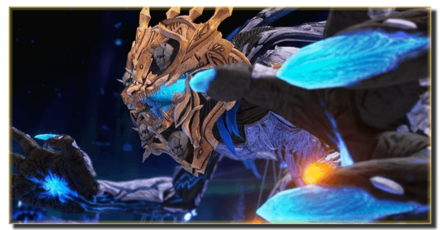
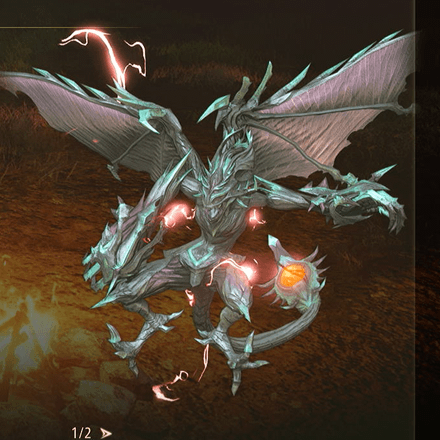
Kalmarzel
| Recommended Level: 35 | |||
|---|---|---|---|
 HP: 102520 |
|||
| Attack | 1362 | Defense | 550 |
| Elemental Attack | 1238 | Elemental Defense | 521 |
| Penetration | 1494 | Resistance | 1573 |
| Weakness | Resistance | ||
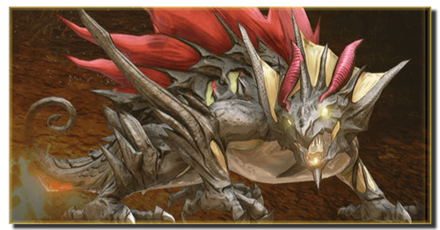
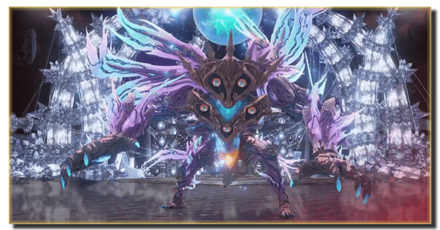
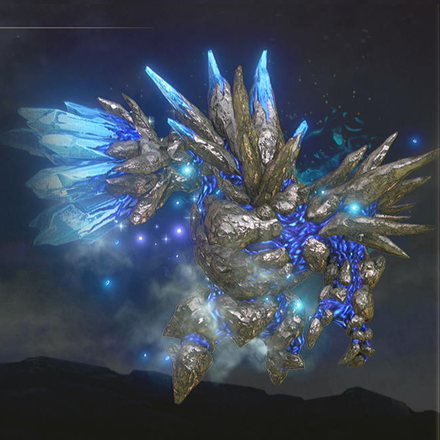
Kaldinzel
| Recommended Level: 35 | |||
|---|---|---|---|
 HP: 104100 |
|||
| Attack | 1163 | Defense | 637 |
| Elemental Attack | 1163 | Elemental Defense | 637 |
| Penetration | 1494 | Resistance | 1573 |
| Weakness | Resistance | ||
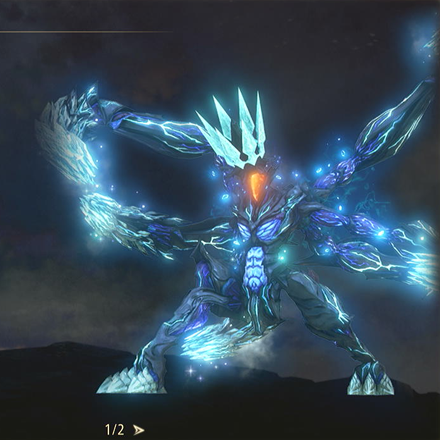
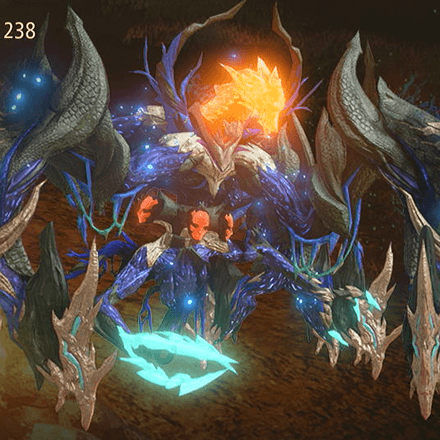
Kaldinzel Will Absorb Kalmarzel Once It Is Down
During the battle, after eliminating Kalmarzel (Level 34) you will see Kaldinzel (Level 34) absorb it and its powers. Afterward, all attacks that Kalmarzel can perform can now also be performed by Kaldinzel.
How to Beat Kalmarzel & Kaldinzel
To aid in your battle against Kalmarzel & Kaldinzel, here are some tips that you can utilize in your fight.
Equip Party With Earth and Dark Type Artes
Due to their being two different enemies for you to fight, with each having its own weaknesses and resistances, it is a good idea to equip your entire party with either Earth or Dark Artes to cause elemental damage against either of the two.
Fire based Artes also works well, particularly against Kaldinzel. In support of this, turn off all Artes that are Light or Water based on the Artes List to force your characters to not attack with the enemy's resistances during the fight.
Concentrate on Kalmarzel
Once you reach the second half of Kalmarzel's HP, Kaldinzel will spawn and move into the area you're in. At this point in time, Kalmarzel will be the weaker of the two, so focus all your attacks and attention on it instead of on Kaldinzel.
Overlevel
Although the fight can be done at level 34, it is much easier and more manageable to do the fight at level 35 or higher. This is due to the presence of two boss-type enemies that each have powerful attacks and large HP pools. If you wish to do the fight at 34 or lower, be sure to bring plenty of recovery Items so that you don't tax your CP too much with constant healing.
Recommended Party Setup for Kalmarzel & Kaldinzel
Party Members
| Leader | Members | ||
|---|---|---|---|
 Alphen Alphen
Lv.35 |
 Dohalim Dohalim
Lv.35 |
 Rinwell Rinwell
Lv.35 |
 Shionne Shionne
Lv.35 |
Use All Boost Attacks
In order to get more damage out from your characters, use their Boost Attacks liberally whenever they become available. In particular, Law, Shionne, Dohalim, and Alphen's Boost Attaks can be used effectively at any point during the fight.
Reserve Rinwell and Kisara's attacks for when either of the two bosses use a charging attack or try to cast Artes.
Alphen Equipment and Artes
|
Alphen
Lv.35 |
Equipment |
|---|---|
| Solid Edge | |
| Battle Suit | |
| Resist Ring | |
| Ground Artes | Aerial Artes |
| First Set | |
| Destruction | Rising Falcon |
| Shockwave Slash | Stardust |
| Eternal Devastation | Mirage |
| Second Set | |
| Swallow Blade | - |
| Demon Fang | - |
| Severing Wind | - |
Primary Brawler Against Kaldinzel
A good majority of Alphen's attacks are effective against Kaldinzel. Alternatively, once the two creatures combine, you can use his Flaming Edge to cause even more damage per hit.
Dohalim Equipment and Artes
|
Dohalim
Lv.35 |
Equipment |
|---|---|
| Refined Tenebris Staff | |
| Earth Cape | |
| Magic Emblem | |
| Ground Artes | Aerial Artes |
| First Set | |
| Negative Gate | Demon's Lance |
| Bloody Howling | Tornado Dive |
| Elusive Deity | - |
| Second Set | |
| Seismic Rupture | - |
| Solitary Captivity | - |
| - | - |
Can Be Interchanged With Law
While Dohalim is effective against Kalmarzel, he can be swapped out with Law once the two creatures combine together. He can also be kept on, but you'll need to provide special attention to both him and Rinwell whenever they're casting their Artes as they are easy targets for Kaldinzel while in the process of casting.
Rinwell Equipment and Artes
|
Rinwell
Lv.35 |
Equipment |
|---|---|
| The Dark Wings | |
| Silk Robe | |
| Magic Emblem | |
| Ground Artes | Aerial Artes |
| First Set | |
| Galeforce | Razor Cyclone |
| Tempest Wind | Swallow's Flight |
| Air Thrust | - |
| Second Set | |
| - | - |
| - | - |
| - | - |
Can Be Swapped Out With Kisara
Once Kalmarzel combines with Kaldinzel, Rinwell can be swapped for Kisara to have one more fighter in the group. She can be kept on, but it is recommended that one between Dohalim and Rinwell be swapped out for another fighter to provide a distraction, allowing for the remaining Arte caster to freely cast without interruptions.
Shionne Equipment and Artes
|
Shionne
Lv.35 |
Equipment |
|---|---|
| Shaded Aster | |
| Twilight One Piece | |
| Magic Emblem | |
| Ground Artes | Aerial Artes |
| First Set | |
| First Aid | Toxicity |
| Gravitas Field | Spear Sweep |
| Burning Strike | - |
| Second Set | |
| Healing Circle | - |
| Flare Tornado | - |
| Lunar Blast | - |
Primary Healer
With Shionne back in your party, you can disable Dohalim's healing Artes to streamline healing abilities back to Shionne. This allows healing to be the main role of one character, freeing up Dohalim to be an attacker while saving CP at the same time. Shionne's party-wide recovery Artes are extremely useful in this fight so be sure to equip them beforehand.
Kalmarzel & Kaldinzel Attack Patterns
Thunder Strike
A move done by Kalmarzel will see thunder strike down from the skies to hit a small area that circles around the creature. Anyone caught in the blast will get momentarily stunned, also increasing the chances of them being inflicted with the Paralysis Physical Ailment.
Mine Barrage
If allowed to complete its Artes, Kalmarzel will be able to summon orbs of lightning that surround it in a circle. It has the same effects as that of the Thunder Strike attack but does not move around.
Tail Swipe
An attack that can be done by both creatures but something that Kalmarzel does more of, they will be able to twist their body around to swipe their tails at you. This attack can also cause a temporary stun, leaving you vulnerable to other attacks.
Charge
Both creatures can charge your team. This attack causes significant damage against your party, so be sure to get out of the way or have Kisara use her Boost Attack to stop it.
Alternatively, the two can also use their claws to try and attack you, stepping forward while swiping its claws.
Roar
An attack both zeugles do frequently, they will be able to roar and disrupt your attacks. This attack has a wide range, so even attacking it from behind will get you momentarily stunned.
Freeze Breath
As it roars, ice will begin to form ahead of it. It is recommended that you stay out of the way of Kaldinzel whenever it roars, as even just the roar itself is enough to cause you some damage.
Freeze Lancer
If allowed to finish its Artes, Kaldinzel will be able to summon shafts of ice that then blasts towards one of your party members, causing significant damage. Use Rinwell to disrupt the Artes.
Tales of Arise Related Guides

Beyond the Dawn DLC Bosses
Beyond the Dawn Story Bosses
| Story Bosses | |
|---|---|
 Nimus Pandemonium Nimus Pandemonium |
 Venoflage Venoflage |
 Nazamil Nazamil |
 Nazamil Nether Nazamil Nether
|
 Ooze Hive Ooze Hive |
Nazamil Nether (2nd Encounter) |
| Nazamil Nether (3rd Encounter) |
 Captive Nazamil Captive Nazamil |
 Oppressor Oppressor |
 Emergence Suppressor Emergence Suppressor |
Beyond the Dawn Optional Bosses
| Optional Bosses | ||
|---|---|---|
 Ruthless Ruthless
|
 Boisterous Roper Boisterous Roper
|
 Cruel Keeper Cruel Keeper |
 Megawrecker Megawrecker |
 Ghoulish Arms Ghoulish Arms |
 Nimus Juggernaut Nimus Juggernaut |
 Grinymuk Grinymuk |
 Mother Boomy Mother Boomy |
- |
Story Bosses
 Balseph
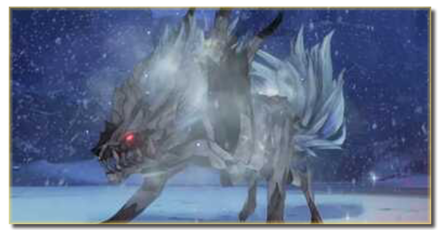 Ice Wolf Leader
 Ooze Hive
 Lord Ganabelt
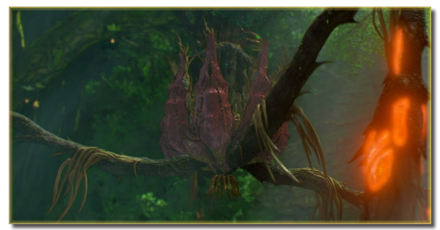 Zacarania
 Kisara
 Dohalim
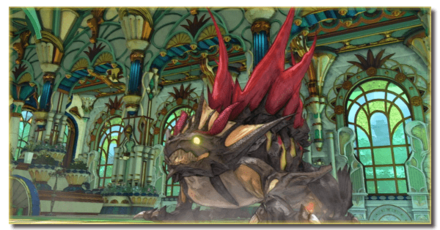 Venoflage
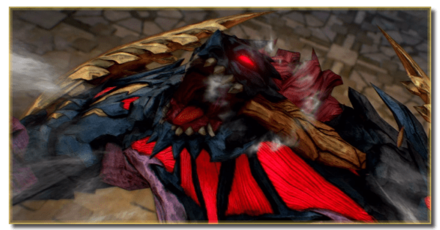 Temararus
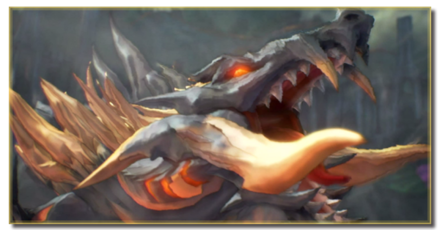 Grinymuk
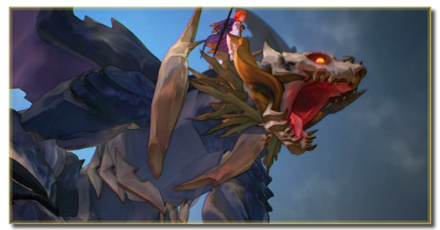 Almeidrea & Mesmald
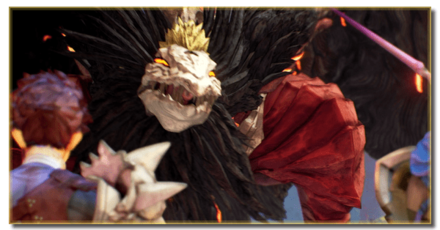 Meria Phein
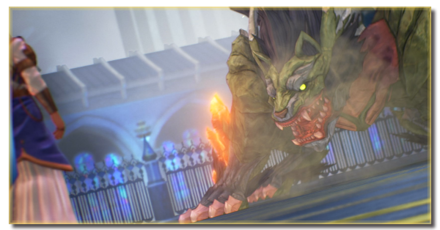 Kalmarzel & Kaldinzel
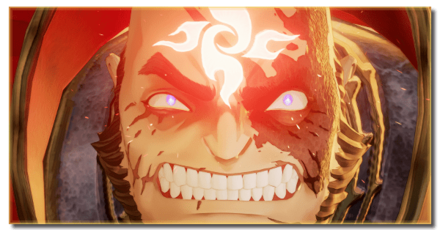
 Vholran
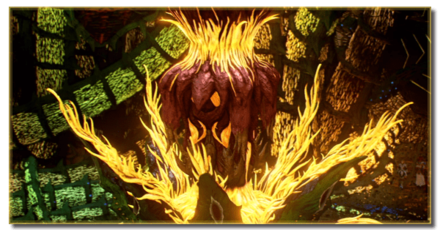 Eljarania
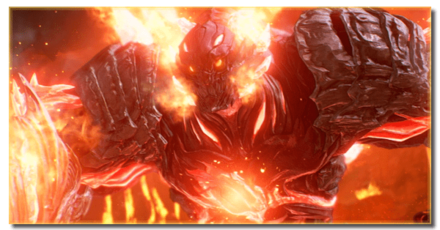 Efreet
 Tormented Limbs
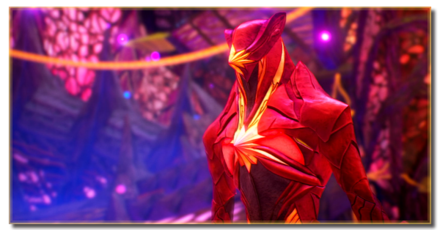 Red Woman
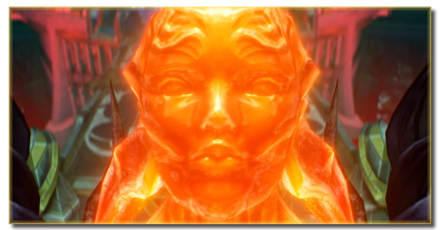 Valclynimus
 Great Astral Spirit
 Subsumer
 Vholran (Final Boss)
Optional Bosses
 Toxidillo
 Boisterous Roper
 Polycephus
 Great Dragon
 Relentless Charger
 Flamewrecker
 Alpha Reaper
 Stormbringer
 Elemental
 Regent Bee
 Agony Keeper
 Mother Boomy
 Ruthless
 Thunderite
 Mantis
 Calamity Arms
 Meneiys
 Ezamamuk
 Sword Dancer
 Undine Drop
 Luo Undine
 Grand Gnome & Vas Phein
 Masher Mare & Masher Bull
 Procella Sylph & Sylph Zloa
 Mesmald
 Edna
Edna Nimus Origin
 Eizen
Eizen Edna & Eizen
 Chronos
 Dulneiys, Maleiys, & Vasneiys
Author
Kalmarzel & Kaldinzel Boss Guide: Recommended Setup and How to Beat
Rankings
- We could not find the message board you were looking for.
Gaming News


Popular Games

Genshin Impact Walkthrough & Guides Wiki
Umamusume: Pretty Derby Walkthrough & Guides Wiki
Where Winds Meet Walkthrough & Guides Wiki
Pokemon Legends: Z-A Walkthrough & Guides Wiki
Honkai: Star Rail Walkthrough & Guides Wiki
Wuthering Waves Walkthrough & Guides Wiki
Digimon Story: Time Stranger Walkthrough & Guides Wiki
Clair Obscur: Expedition 33 Walkthrough & Guides Wiki
Pokemon TCG Pocket (PTCGP) Strategies & Guides Wiki
Zenless Zone Zero Walkthrough & Guides Wiki


Recommended Games
Diablo 4: Vessel of Hatred Walkthrough & Guides Wiki
Fire Emblem Heroes (FEH) Walkthrough & Guides Wiki
Yu-Gi-Oh! Master Duel Walkthrough & Guides Wiki
Elden Ring Shadow of the Erdtree Walkthrough & Guides Wiki
Super Smash Bros. Ultimate Walkthrough & Guides Wiki
Monster Hunter World Walkthrough & Guides Wiki
Pokemon Brilliant Diamond and Shining Pearl (BDSP) Walkthrough & Guides Wiki
The Legend of Zelda: Tears of the Kingdom Walkthrough & Guides Wiki
Persona 3 Reload Walkthrough & Guides Wiki
Cyberpunk 2077: Ultimate Edition Walkthrough & Guides Wiki


All rights reserved
© BANDAI NAMCO Entertainment America Inc. All third party content, brands, names, and logos are used under license and remain property of their respective owners. All rights reserved.
The copyrights of videos of games used in our content and other intellectual property rights belong to the provider of the game.
The contents we provide on this site were created personally by members of the Game8 editorial department.
We refuse the right to reuse or repost content taken without our permission such as data or images to other sites.